Still on the lookout for a perfect chandelier that best suits your taste? Here’s a collection of DIY crystal chandelier ideas that you would surely take an interest in – after all, who doesn’t love sparkly accents? These DIY crystal chandelier ideas are so easy and simple to make. They will not require you to blow up all your money to achieve that glamorous look as what other crystal chandeliers can give. These DIY ideas mostly use the materials you may easily available almost everywhere. You can go for any look that greatly fits what interior design style you want.
DIY Crystal Chandelier Ideas

Crystal chandeliers are exquisite pieces of art that can bring beauty and ambiance to your home. There is something about crystal chandeliers that make any room look more elegant and classic. But that doesn’t mean you have to buy an expensive chandelier from the store. You can make your DIY crystal chandelier from the comfort of your home. All you need to do is follow these 21 amazing tutorials and be willing to get creative. This is an amazing and detailed list of wonderful easy-to-make crystal chandelier designs. These DIY projects are perfect for homeowners wanting to have some fun sprucing up their spaces.
How To Make A Crystal Chandelier
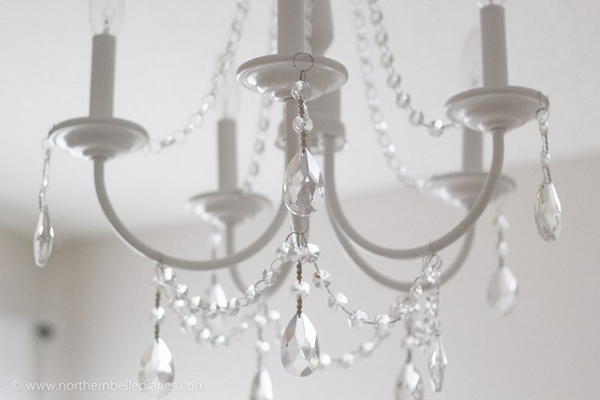
This Crystal Chandelier is beautiful. Add a little sparkle to your room by making a chandelier out of old beads. You can follow these simple step-by-step instructions on how to make a chandelier. You will need an empty wine rack, some paint, and two packs of 250 ct crystal bead garland (80 mm) from the Dollar Store. The instructions are easy to follow. I recommend getting a helper to make hanging it on the wall and assembling it a little easier.
DIY Crystal Chandelier Tutorial
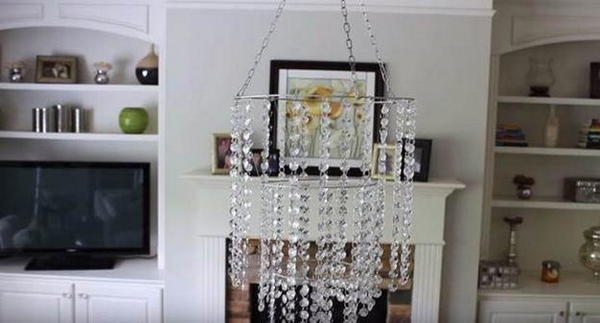
Make your DIY crystal chandelier perfect for an entryway or over a dining room table. You can make your DIY crystal chandelier to greet guests as they walk through the door or dress up your dining room table. This sparkling beauty features crystals and chains. The materials are just simple and not expensive. I made mine worth $20 only. I followed the steps written in this article, and it was amazing. It can be a great chance for me for the years to come.
DIY Crystal Ball Chandelier
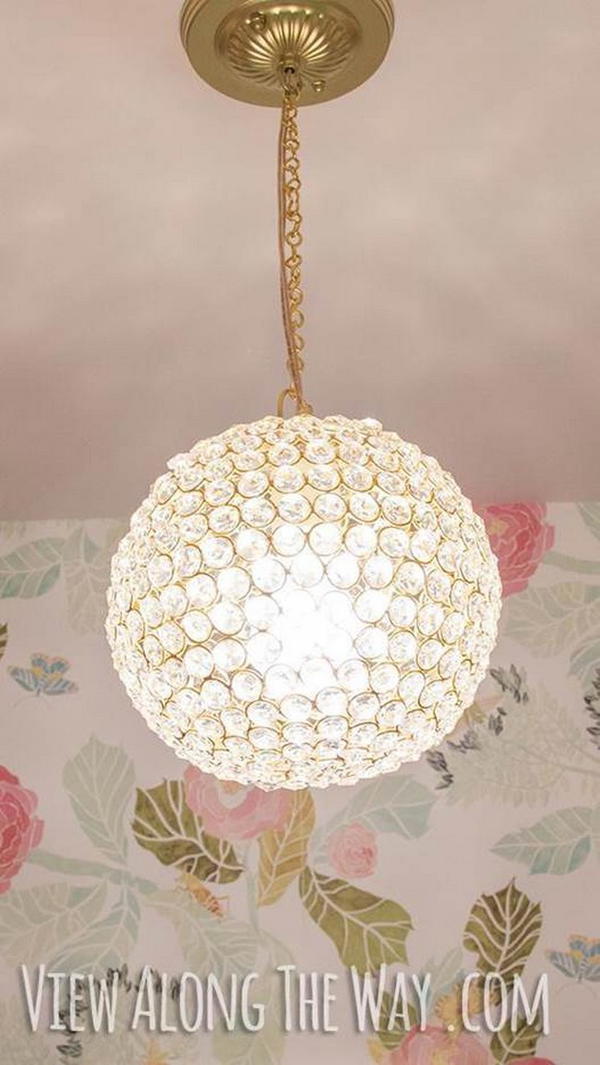
Create a magical accent for your home with this easy-to-make DIY chandelier. Wrap crystal strands around the base and ball fixture and suspend from a ceiling mount. Other shapes, like half spheres, are also possible. This chandelier has a striking look with a simple round shape and cascading crystals. This is pretty easy to put together with the right tools and materials. It makes a great accent piece in your home. This crystal ball chandelier features a clear ball covered with faceted faux crystals that capture ambient light for extra sparkle. The fixture measures 40 in diameter by 23.5 H overall.
DIY Crystal Chandelier
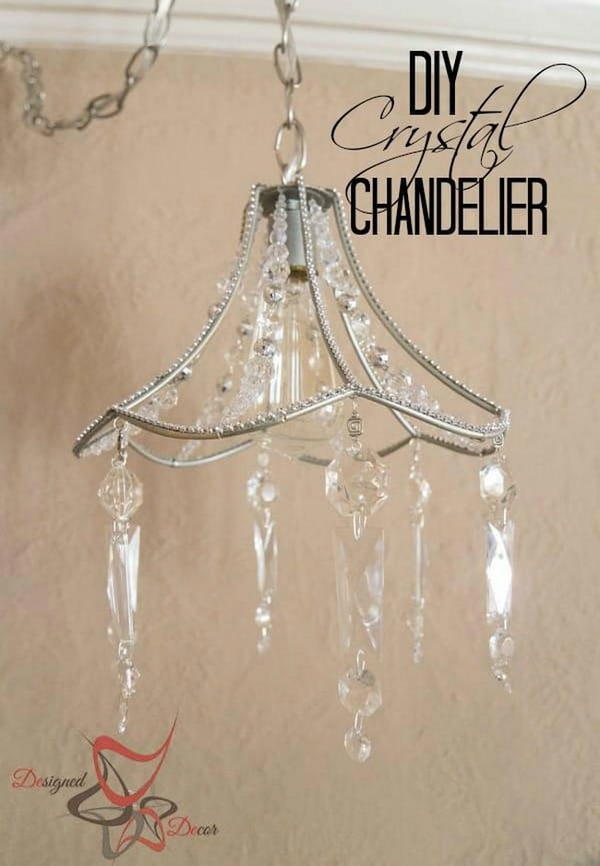
Create your beautiful crystal chandelier with this DIY kit. Choose your favorite crystals and follow the assembly instructions to create a customized hanging lamp that will add a touch of glamour to any room in your home. For a chandelier that fulfills your desires and fits your budget, you can't beat a DIY crystal chandelier. Add sparkle to metal and wood light fixtures with dangling crystals and beads. There are many variations to explore with our DIY chandelier, so find the right crystals for your taste, or experiment with colors and shapes for a unique piece. They’re easy to hang, too.
DIY Chandelier Makeover With Crystals And Beads
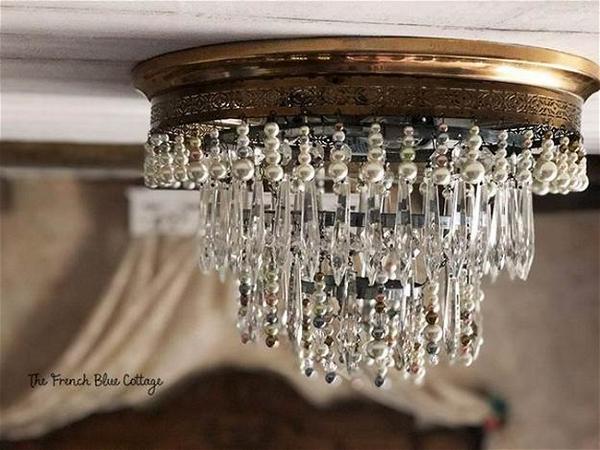
Use our DIY chandelier to give your home a fresh new look. This chandelier features three layers of beads, which are easy to shape as you please. Just thread the beads onto headpins and arrange them in any way. This stunning chandelier with crystals, beads, and headpins is the creative work of our customer Danielle, who proves that you can completely transform your old light fixtures in just a few steps. Your lighting will have an upgraded look and beautiful glow for just pennies!
How To Add Crystals To A Chandelier
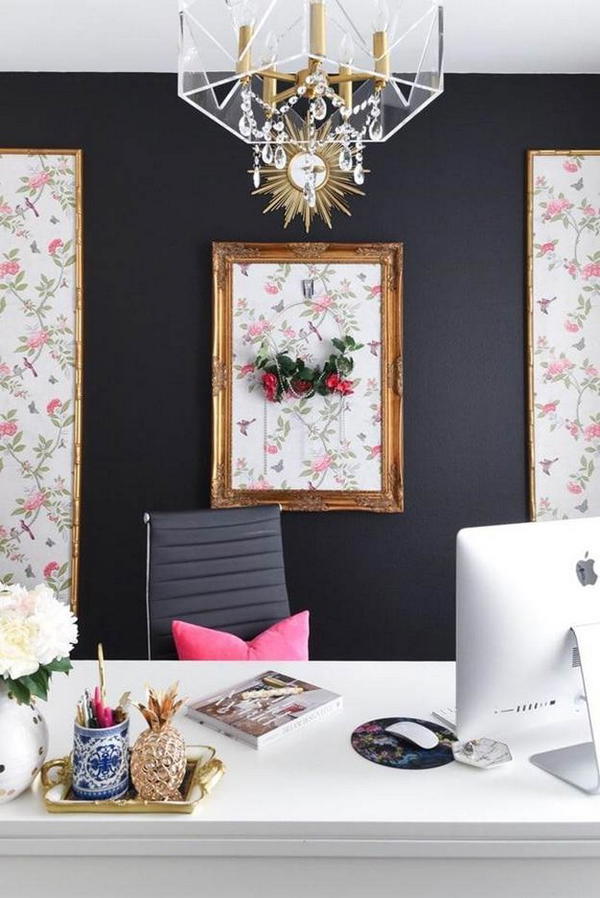
To add crystals to a chandelier, detach the magnetic clasp from the prism chandelier. Begin fixing the crystals over the magnetic clasp in the pattern you desire. If you need to adjust any of them, detach them and rearrange them as desired. Remove the top metal ring from the chandelier, attaching it to a threaded chain or rod. You now have access to work with the crystals in the chandelier, including adding new ones. Begin by detaching knots of crystal strands and adding sufficient crystals on them. Make sure that you connect them so that they can be connected back to the chandelier magnetically.
RGB Bluetooth Chandelier
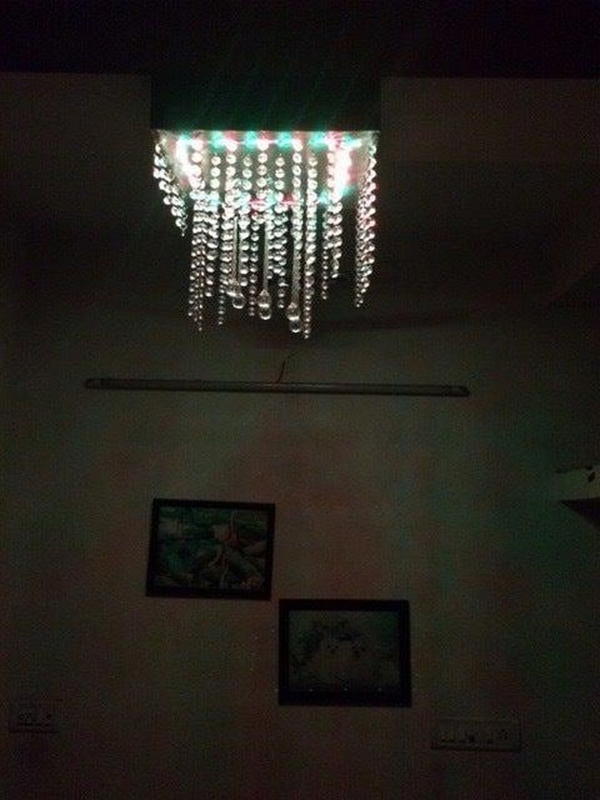
The RGB Bluetooth chandelier is made quickly and easily. First, you need to install the circuit and then fix your structure. A cover piece will happen much more quickly and easily if you can attach it to the top section of the chandelier. This incredibly durable design utilizes the Bluetooth app and a circuit to be controlled from your phone. Every step, from the circuit to the wooden pieces, is detailed so that anyone can tackle them. You will learn how to use woodwork for this type of project and how to make a chandelier with crystals properly.
DIY Dollar Tree Glam Chandelier
We are going to step you through the process of how to create this DIY Dollar Tree Glam Chandelier. First, choose the rings that you feel most comfortable with. You will fix your base before beginning and attaching each tier with the metallic ribbon. Use paper clips in every tip to keep every strand together while ending each final strip on the base. When completed, you can pat yourself on the back and enjoy your new creation! Use metallic ribbon on each ring for a little extra sparkle. Once you have all the tiers in place, attach them to the chandelier base with the paper clips. The process is quick and easy, the result is Unbelievable.
DIY Gold Chandelier On A Budget
Turn your home into a palace with this DIY gold chandelier! This easy project only requires basic supplies like a plastic board frame, hot glue, and pearls. Don't be afraid to experiment with shape and size. Create a plastic board frame and cut your beads to fit into the frame. Put it all together using glue and hang your chandelier to make a decorative feature in your room. Add dimension and interest with layers. Instructions are easy to follow, and the result will turn heads.
DIY Cheap Crystal Chandelier
One of the things that you can be delighted about when doing a DIY project is that you do not need to buy expensive materials. There are always very cheap materials that you can use to make your DIY project great. The same goes for your chandelier. If you have your chandelier frame, hang it. You can choose to hang it low or near the light bulb. The frame is what gives it that classy look. Hook up the crystal strings you have on the ring and adjust them until they evenly fall on each side of the chandelier.
DIY Crystal Chandelier
Transforming a bare chandelier with Design Ovation into a fully designed DIY crystal chandelier is easy to do. You can start by fixing a pendant in the middle of the chandelier. The next step is to add crystals to the candles, starting at the base and working your way up. Assemble each piece, then attach it to the candles and do the same for each arm of the chandelier. Twist the chain and loop it around a hook on top of your fixture, then add a ceiling plate cap, which will cover your mounting hardware once you have wired your light.
DIY Linear Crystal Chandelier
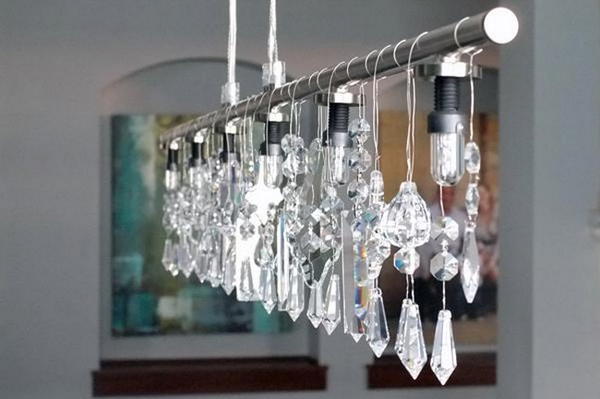
Hang it in your home for a sparkly, dazzling look. Light up your bedroom with a straight line chandelier that comes alight with six lights spread over the length of the pole. Have fun putting it together with your family, and spend time admiring the beauty of this product. Flaunt your creativity by installing this DIY Linear crystal chandelier over the dining room table. It is made out of clear crystals fitted to a straight, metallic pole. Six lights are spread across its length. The chandelier can be installed on the spot or suspended from higher up with a chain or a strong cord.
LED Chandelier Light
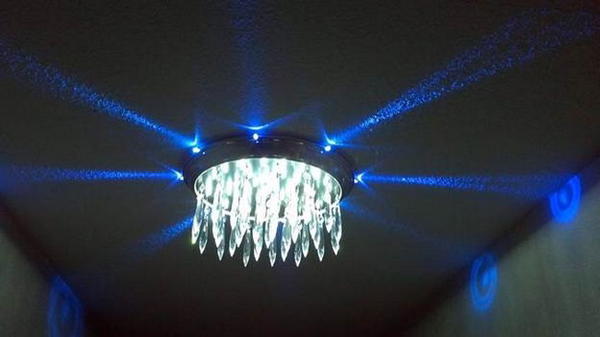
This LED chandelier light is designed to illuminate your room if it is in the dark and improve the beauty of your house. It has an easy installation that requires no electrician or insulin. The brightness of this light is good enough to make you feel that there is sun in your room. It is then fitted with crystals. All wires are securely attached to the ceiling canopy. This light is mounted to the ceiling of your room, giving you extra lighting in this area. It needs one 60 watt incandescent bulb to light up the room. It measures 12 x 12 x 16 inches and weighs 17 pounds.
DIY Chandelier With Crystal Beads
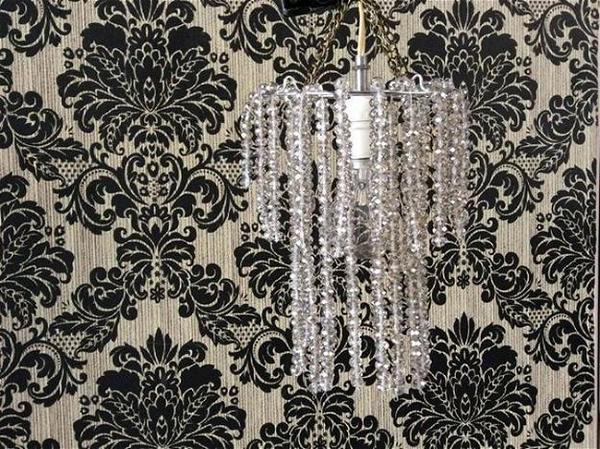
Do you have your eyes set on a crystal chandelier? Well, you can always purchase one. However, if you want to save some cash while getting one that is uniquely yours, consider making this chandelier. This stunning DIY crystal chandelier is the perfect piece for a glamorous or contemporary setting! String on sparkling crystal beads for a dazzling effect and light up your space with your beautifully crafted chandelier. You’ll love how stunning this project is for a fraction of the cost of buying a pre-made chandelier.
DIY Crystal Chandelier
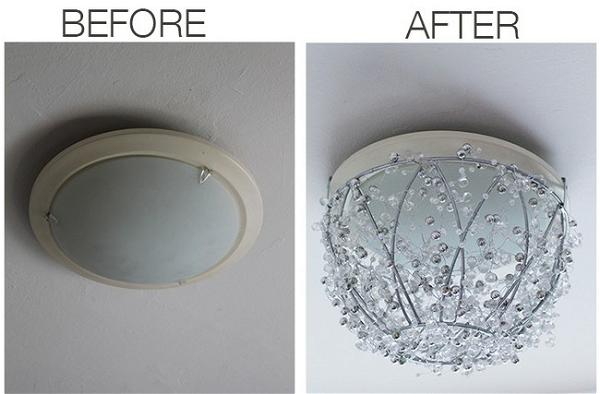
This DIY Crystal Chandelier is perfect for bringing a little sparkle to your home. All you need for this project are easy-to-assemble materials, including a 12-inch hanging wire planter basket, silver spray paint, crystal garland, and picture hangers. It may take even the most seasoned DIY veteran some time to complete, but your new chandelier is sure to be the topic of conversation at all of your future dinner parties.
Rustic Outdoor Crystal Chandelier
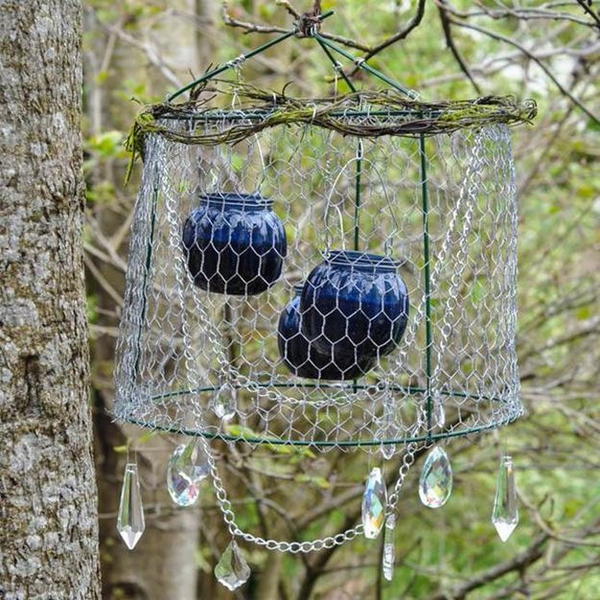
To continue the beautiful crystal chandelier for outdoor, you can attach multi strands of crystal to it. You need to wrap the crystals in chicken wire and then attach them to the chandelier's bottom. Or, you can mix and match both crystals and candles as they will provide a more romantic scene. Lastly, some accessories such as twig vine garland and crystal chains are used to trim the entire chandelier set. It is made out of a chicken wire-wrapped tomato cage and then decorated with twig vine garland and crystals. It would look attractive hung on an outdoor covered porch or patio.
DIY Drum Chandelier With Crystals
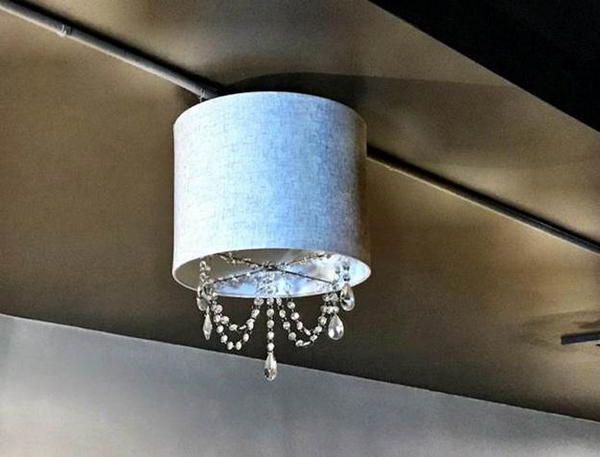
This drum chandelier is ideal for a low-cost budget. With simple steps of purchasing the drums, getting some fancy crystals, beading them to a frame, using jewelry wire to secure the crystals together, and mounting the shade onto the light fixtures, your dream chandelier is ready at an affordable price. It helps the homeowner attain a high-end luxury look without spending much. The crystal beads and jewelry wire you need to make this drum chandelier are easily available at your local craft stores. The step-by-step instruction will help you build this chandelier yourself.
LED Crystal Firework Chandelier
Your dining room can be turned into a magical atmosphere using this DIY crystal firework chandelier. Easily take on the look of a shimmering firework display with this simple but striking centerpiece. It will provide elegant illumination without the need for a hardwire installation. The battery-operated design makes it easy to place in any space, while the eye-catching glass prisms are the cherry on top. You'll love its clean silhouette as it shines brightly through your space, producing a delicate spread of light perfect for illuminating your space and bringing home compelling style!
DIY Faux Crystal Hanging Chandelier
Our DIY Faux Crystal Hanging Chandelier looks as classy as any you would find in a high-end store but is a fraction of the price. This light fixture is easy to install and maintenance-free. Here’s how to do it, Detach the parts you don’t want to use and spray the entire piece with a primer base coat. Create a wooden frame that will serve as the top of your light fixture. Fix the wiring, lighting up, and hanging in place. Create your DIY crystal chandelier by transforming a light bar into a raindrop hanging light fixture for under $15!
How To Hang Crystals On A Chandelier
Hanging crystals on a chandelier is not that difficult. First, you need to get some staples, then wrap them with string. Now you can insert the staples into each glued crystal. Hold the crystal until you see where the hole is. If the place is too small to fit the top of your crystal, apply glue in this area and then firmly place a stapler pin into the hole. You can also use needles or pins to do this job. These are an excellent idea because they will not break easily, they won't stick together, and they won't damage the frame at all either.


