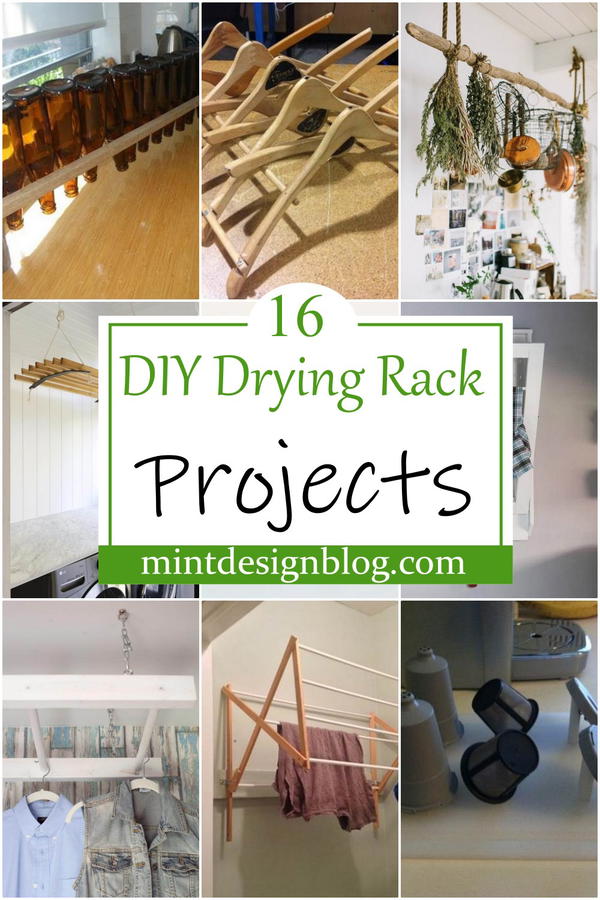
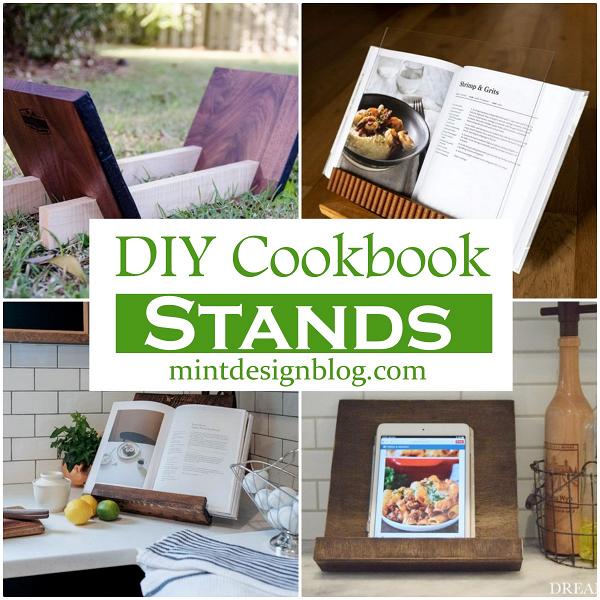
Are you tired of looking at your clothes drying rack? Is it taking up too much space? Do you want to save yourself some money, and reduce clutter? Then a DIY drying rack is an answer for you! With just a few tools and a little bit of time, you'll be crafting away with these amazing ideas. This article is packed with 16 DIY drying rack ideas to help you save money, increase space in your home, and decorate it simultaneously.
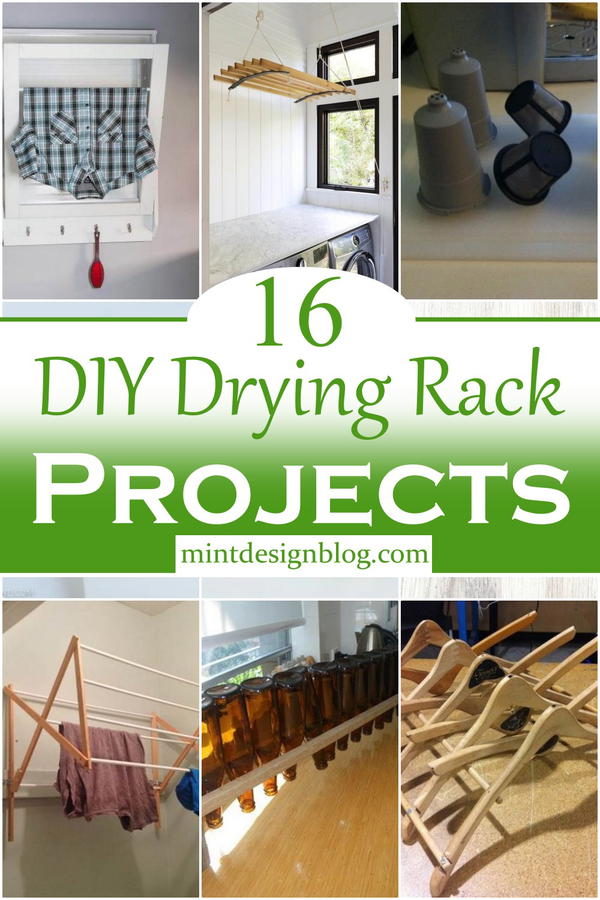
The great thing about drying racks is that they are extremely versatile, being able to be used in a variety of different places, including your front porch or patio, the basement, your laundry room, and the garage. These 16 Drying racks are fabulous! Not only do they keep your clothes and linens from being trampled on by pitter-pattering feet, but you can customize the dimensions to fit, match and complement your existing bedroom decor.
Here are 16 DIY drying rack projects you can use this spring to help get your gear ready for summer adventures.
Uses Of DIY Drying Racks
DIY drying racks are easy to save money and make your laundry room look better. They can also help you make the most of the space in your home. A good DIY drying rack will hold a lot of clothes and still fit discreetly in a corner of the room. It's not hard to find plans for these items, and you don't have to spend much money on materials.
You might want a DIY drying rack if you don't have the space or money to buy a dryer. You might also need one if you like the look of a hanging rack but don't have enough space for it in your home. If you live in an apartment or condominium that doesn't allow dryers, you'll need an alternative method for drying your clothing.
Another great reason to use a DIY drying rack is that they're portable. You can take them with you when you travel. This makes it easy to bring freshly washed and dried clothing with you when you go camping or hiking, which means you won't have to wait until you get back home before unloading your dirty laundry.
Tips To DIY Drying Rack Projects
Tips To DIY Drying Rack Projects
1. Start with a picture of your ideal clothing rack in mind. Then, prepare the clothes hangers, and other materials to be used.
2. Find a spot where you want to install the rack. You can place it inside the closet or outside.
3. Measure the space you intend to use for your rack.
4. Time to work on your wood project! You may follow one of the options below:
5. Attach hooks to a screw clamp and hang them on a door or wall as a hanger for your clothes and/or towels.
6. Use wooden pallets as a wall-mounted coat hanger! And you can still put some decorations around it, especially if you have small children at home.
How To Make A Foldable Clothes Drying Rack
Space-Saving Drying Rack
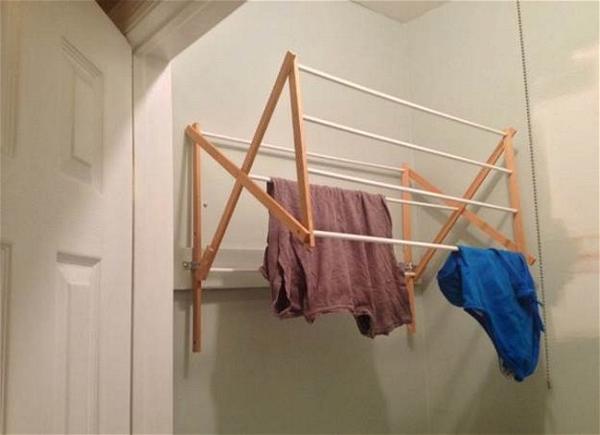
The drying rack is easy to make from scratch, so you won't have to pay for a thing like this! It's easy to build from materials lying around your home. Hang it on the wall and fold an outer layer inside and out of sight while keeping the clothes hung in an organized manner. It's perfect when you don't have enough space at home or in your laundry room to have a big drying rack. When done, fold it back and store it in any corner of your home.
How To Make Clothes Drying Rack
A clothes dryer takes up a lot of space and is not strong. In addition, dryers are too expensive to buy. Clothes can be dried in many different ways, but the most common include air drying outdoors and using a clothes dryer. Less familiar options range from renting a machine to using a rack. This post will show you how to make a drying rack that is simple and sturdy. The rack, when complete, will fold flat for storage and will span across two or more walls.
DIY Clothes Drying Rack For Balcony
DIY Cabinet Door Drying Rack
DIY Hanging Drying Rack
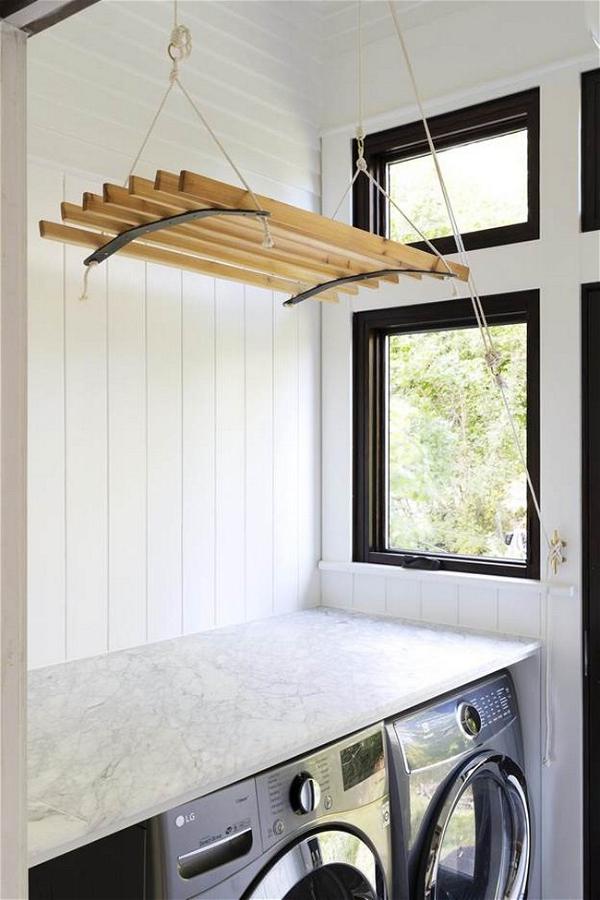
A DIY hanging drying rack is not only a great space for laundry, but it is also a cheaper alternative to all the other ones that you can buy at stores. In order to reduce the cost of these racks, you did not buy expensive smart materials and make them by yourselves. Use simple tools and easily available materials to make this beautiful drying rack! It is a quick and easy project that can be done in just a couple of hours. With this drying rack, you can hang your freshly washed clothes in just about any room and adjust them to fit your needs. The design allows it to remain completely out of the way until it's time for laundry day.
DIY Dish Drying Rack
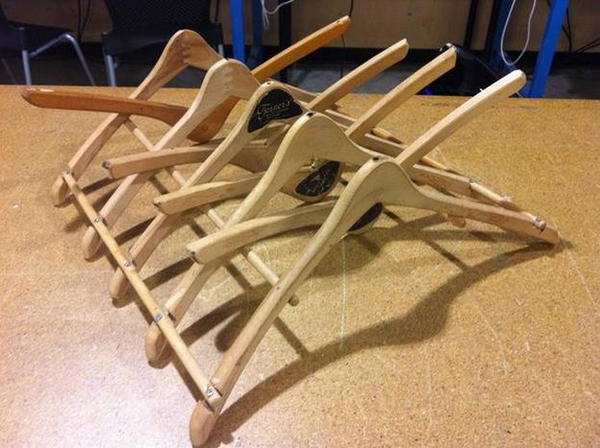
The DIY Dish Drying Rack will give your kitchen a clever and unique look while being super functional. The process is quite simple and requires only a few materials. It's very handy since it takes less space, you can change the shape of it according to your needs and you also save money because hangers in a supermarket tend to be cheaper than dish racks. It is also an easy and cheap way to dry your clothes that is good for at home, or if you have a small space available. You will also understand the process very well in case you want to start a business making these racks for others.
DIY Beer Bottle Drying Rack

Are you familiar with the problem every beer drinker has? The phenomenon of stacking up glass bottles after a good drinking session with friends and some will often go wasted. Not anymore! With this DIY Beer Bottle Drying Rack, you can dry those bottles out and not worry about odor from mold or any other stuff that goes inside your beer. Use the two long wood pieces for hanging the heavy-duty rack on top of a doorknob or something similar near your kitchen sink. Take note that this is just a guide and you can use your own measurements if it suits you better.
DIY Foldable Clothes Drying Rack
After a day of outdoor activities, nothing feels better than taking off your clothes and letting them dry in the fresh air. Wouldn't it be nice to have clothes drying rack that doesn't take up floor space or has to be assembled? Well, look no further. This DIY folding clothes drying rack is super easy to make, even for someone like me who is not the world's greatest crafter. It just uses wood, glue, 2 clamps, and 2 screw eyes. Now you can hang all those wet swimsuits and shirts without having to flip flop between hangers on a regular rack!
DIY Clothes Drying Rack
A clothes drying rack is a very useful item that can be used all year round. This one, though, is specially made so you can enjoy it during the summer season and not just when you need to dry clothes indoors. It's an outdoor project but it's still possible to complete if you're tired of dragging your dirty laundry to the washing machine and then hanging them from a hanger somewhere in the house to dry. No more hassle with a drying rack! The drying rack works great on your deck during warm weather and can be easily disassembled each winter to store.
DIY K-Cup Drying Rack
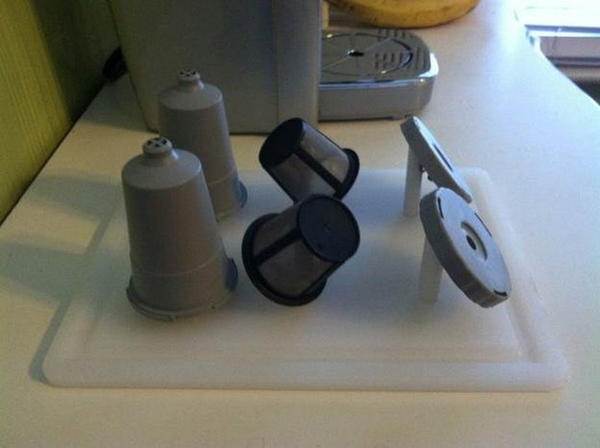
Here's what you can do with a cutting board, hanger, and some tools, plus a few minutes of your time: save money on K-Cup coffee maker cleaning supplies that get rid of nasty, caked-on stuff...while drinking all the iced coffee you want. This guide will teach you how to make a drying rack for your K-Cups, so you can do something useful with the empty pods. You'll need a Forstner drill bit, a hanger from around the house, a small hammer, and a box cutter. With these tools, we'll show you how to trim and cut the board, mark and drill holes on the board cut the hanger, and assemble the pieces to form your K-cup drying rack.
Pasta Drying Rack DIY
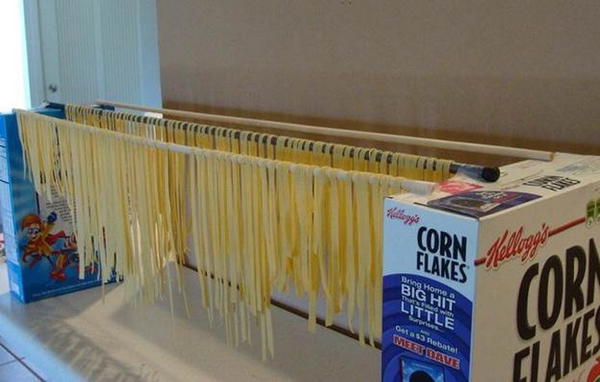
You love cooking pasta but hate how it always clumps up when it's on the rack to dry. This makes your pasta bowl messy and it's a pain to clean. With this simple DIY pasta drying rack, you don't have to worry about that. You can easily make a pasta drying rack at home with common materials. It is an excellent DIY project to make and it's perfect for those of you who love to cook. What you need for this project is easily accessible and costs less than a dollar for most of the materials.
DIY Fold-Down Laundry Drying Rack
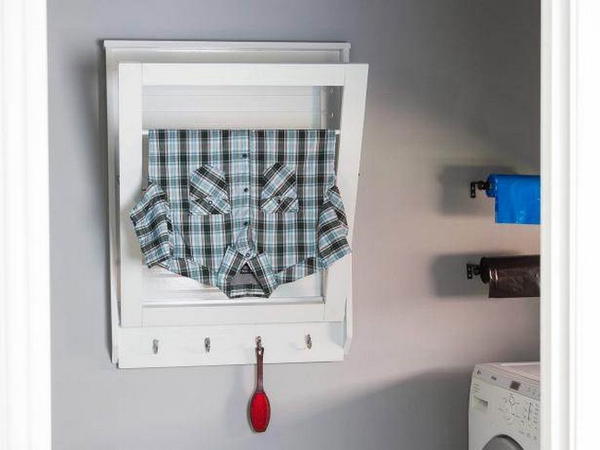
For those of us who hate to fold laundry, here's a fun and inexpensive way to create a wall-mounted fold-down laundry drying rack. Creations like this can often seem intimidating, but most of the work is done with basic tools--and doing it yourself will save you money. The frame is built from wood boards and dowels, and the folding outer piece is made from beadboard, clamps, hinges, and hooks for hanging clothes. It's functional, sturdy, and quirky! You could really save space with this one!
DIY Drying Rack From Ladder
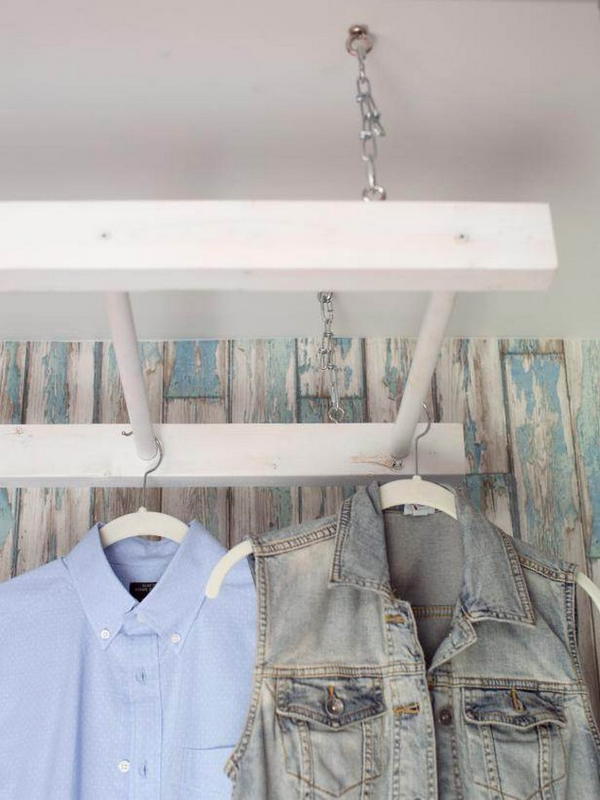
If you are looking for a cheap and easy way to organize your clothes then this DIY drying rack is perfect. Here is a simple and stylish DIY idea on how to make a drying rack from an ordinary wooden ladder. It turns out that recycled materials can be used for creating extremely stylish and functional home decorations, like this drying rack for example. You can use it either indoors or outdoors. Above all, the best thing about this beautiful DIY project is that you do not need to spend any money on materials or professionals to create it. You can hang it anywhere outside, like under the carport or from a tree, even in the attic.
DIY Drying Rack For Herbs

This DIY drying rack is the perfect item to add life to your home. While it can be used for herbs and spices, it can also be used for air-drying flowers and small delicate items that you want to hang up or display. It is effortless to make and will only cost you about $15! It provides a quick and inexpensive option for safely suspending herbs to dry while doubling as both a display piece and a functional décor item."
DIY Herb Drying Rack
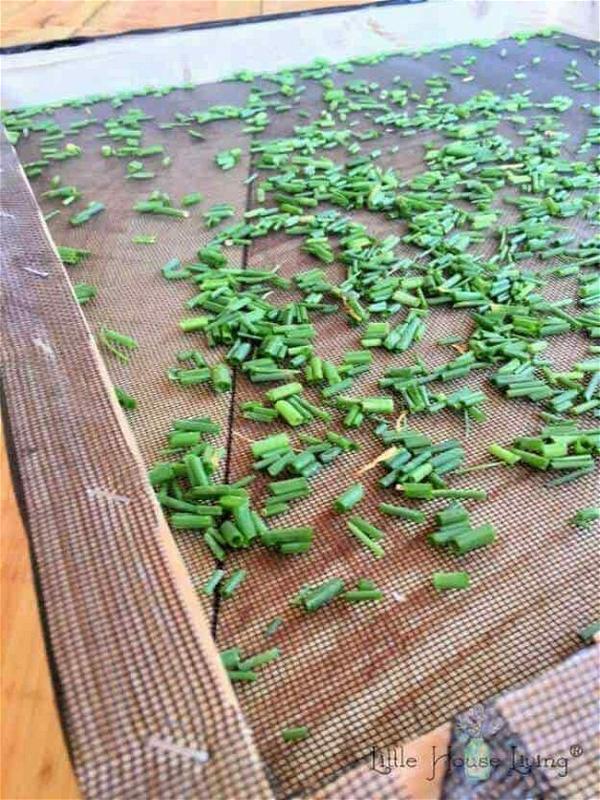
An herb garden is an excellent place to grow your own herbs. There are many health benefits of consuming organic homegrown herbs. Throwing those herbs in the oven to dry is a great idea, but it doesn't have to be hard or time-consuming. With this tutorial, you can learn how you can create an organized, efficient, and easy drying rack for your home herb garden! Build your own garden herb drying rack and have a fresh supply of herbs all the time! It's simple, cheap, and requires practically no skills. This vertical herb drying rack is perfect for someone who wants to grow herbs in their home.
