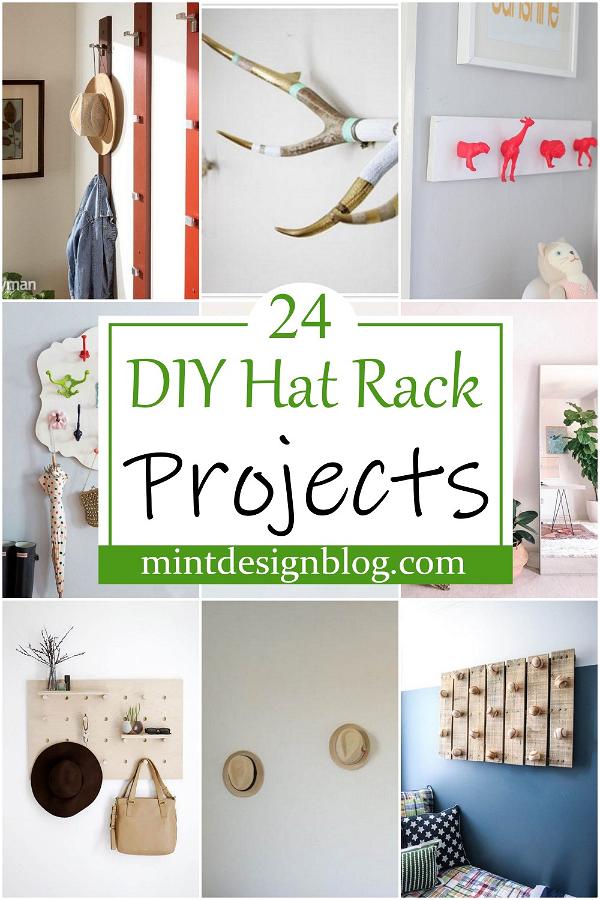
Hat racks can be found in many places, from department stores to clothing stores, but they can often be expensive and not quite as functional as you may like. If you're looking for a way to store your hats that also work as a decorative piece or best display them, creating your hat rack is an effective solution. Hat racks can be made from almost any material, including wood and metal, and in any setting, such as wall-mounted or free-standing. With so many possibilities, choosing where to start can be challenging. Here are 24 different DIY hat rack ideas to get you started.
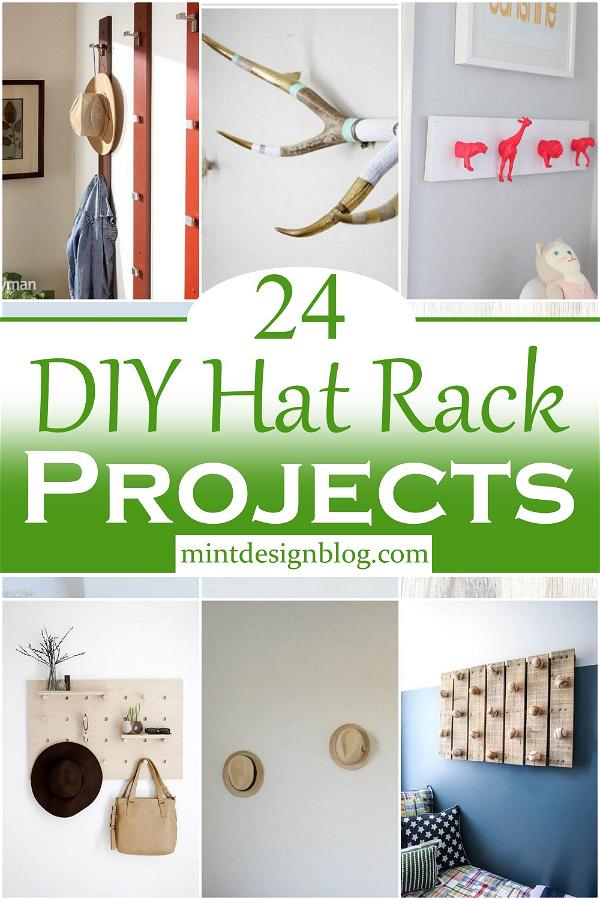
Consider one of these 24 DIY hat rack ideas for your next weekend project. A DIY hat rack is a simple solution for keeping your hats organized and off the floor. It's also a creative way to display them, whether you own baseball caps or fedoras. Take your pick from these easy-to-follow plans that any skill level can complete in an afternoon. Hat racks are also great if you have limited closet space. And if you have young children, they'll be more likely to hang up their coats and hats on a beautiful and dedicated wall hanging than in their closets.
This roundup of 24 DIY Hat Rack Projects offers various ways to present your hats; some are wall-mounted, some are free-standing, and some are both!
Importance Of DIY Hat Rack Projects
When you have a closet full of hats and no good place to keep them, it's time to start thinking about DIY hat racks. They are a great way to organize your favorite lids, but they also double as a unique piece of decor for your home. The options are practically endless.
If you have many hats, you need a hat rack. These storage solutions keep your hats safe, but they also look great in your room. You can purchase one or make one yourself. There are several DIY hat racks that you can easily make at home.
There are many benefits to having a DIY hat rack in your room. Here are some of them:
- Hat Racks are affordable
- It is easy to make a hat rack
- They help you organize your hats
Get creative with wood and other materials, or take inspiration from some of our favorite projects below.
Basic Materials Required For DIY Hat Racks
You will require a few basic materials to build your DIY hat rack:
- wood
- satin or polyurethane lacquer.
- sandpaper
- hammer
- nails or screws
- a saw.
Depending on your chosen project, you may need some finishing nails, glue, and other items.
How To Make A Hat Wall
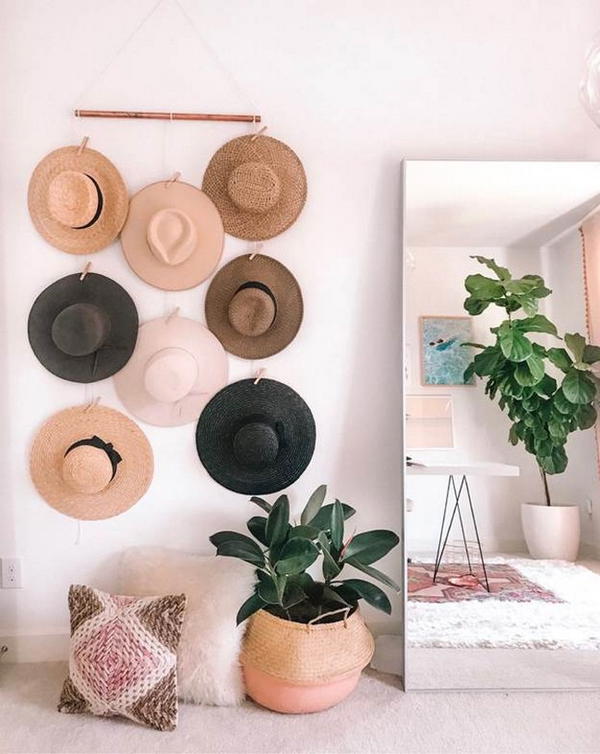
Do you want to make something to adorn the wall of your home? Or Having a lot of hats is excellent because you get to wear different hats every day. But you would need to secure them somewhere so that they will not easily fall off, and you will be able to locate them quickly whenever you need to wear one. Making a hat wall out of a hanger is the perfect solution! Display your work or your collection of beautiful hats and caps artistically with this fun and easy project. Be it your sewed or ready-made hats; this is a simple display to show them off in your room!
Zig-Zag Wall-Mounted Hat Rack DIY

Here's a fun, easy, and creative way to display the hats you love on display. When you think about it/ all of our hat racks are pretty straight, flat, and dull. This is an excellent way to do something different and unique. This is a pretty straightforward DIY project that would be great for displaying your hats. Hang them in style on this wooden zig-zag wall rack using nothing but an inexpensive laser cutter and minimal materials. It's a pretty trendy look, and the pattern works out quite nicely. This hat rack would look great in any room of the house!
Coat And Hat Rack DIY
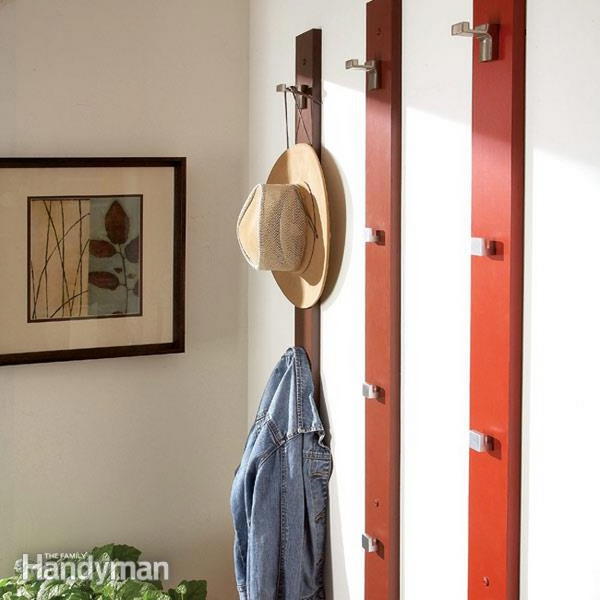
If you have a small hallway, a small bedroom, or perhaps a narrow space needing some storage, this coat hat rack is definitely for you! It’s effortless to make, and it’s almost non-existent cost and very useful in many parts of your home. Just keep the coats and hats on the wall instead of on the floor or a coat rack, do your floor a huge favor and keep them off the ground! Its simple and stylish design will fit in with any décor. You can store your jackets, coats, hats, bags, shoes, and more with this simple project. This is the perfect project for you.
DIY Hat Rack
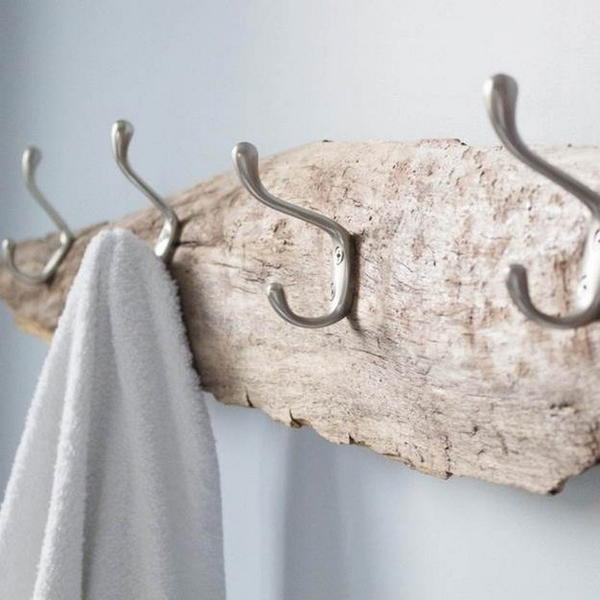
This DIY hat rack is the perfect rustic, country decor piece. Make this unique and rustic hat rack in only 20 minutes. It's a stylish, functional piece that you'll love to show to your friends. You'll need some scrap wood, a couple of clamps, and a hand saw! Not only can you hang hats or towels on the hat rack, but if you use your imagination, it could be used as an art display or plant holder. It is a sweet and stylish hat rack. It's also great for scarves, belts, and umbrellas. The best part is that it can be customized to fit any space or style. The possibilities are endless…
Stand Up DIY Hat Rack

You may have seen this stand-up hat rack at an old antique store or cafe. This DIY Hat Rack is the perfect solution to free up closet or shelf space. The stand-up base provides more storage flexibility than a traditional wall-mounted hat rack. This project uses an inexpensive and easy-to-install curtain rod to create a functional piece for your home. A stand-up DIY Hat rack of this kind is perfect for families with children in sports. It's also great for just keeping hats off the floor, allowing them to dry after cleaning and protecting them from dust." This is an effortless DIY project that even kids can make.
DIY Neon Nursery Wall Hooks
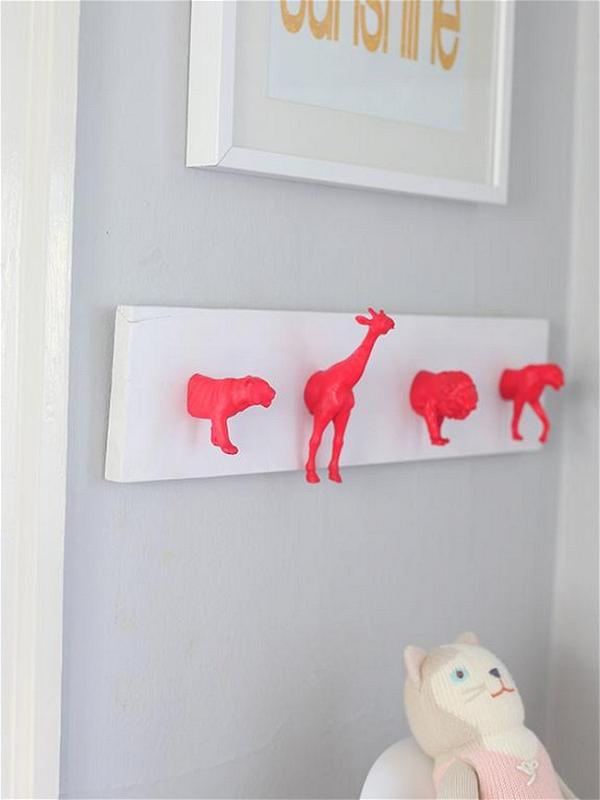
Are you looking for a cute and decorative way to hang your hats? If so, then these Neon Nursery Wall Hooks are the project you’ve been looking for! You won’t believe how easy it is to make cool nursery wall hooks at home! With the proper hardware, neon colors, and a little imagination, you can create a fun way to display your hats, hoodies, or jackets. This project is perfect for those with unfinished walls in your kids’ rooms. They could be used to hang backpacks, coats, and pool towels. You could even make it bigger to use as a key hook by the front door or entrance to your home.
How To Make A Hat Rack
DIY Hat Rack Under $10
Easy And Affordable DIY Hat Rack
Wall-Mounted DIY Hat Rack
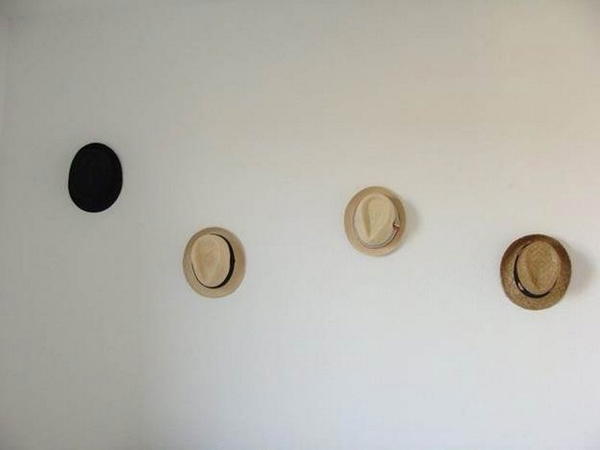
It is a beautiful idea to make your own wall-mounted DIY hanger rack. You’ll be able to display all of your hats proudly, and you will feel much better knowing that they are not scattered around in a messy wardrobe. You can change the position of the hangers to show off different styles and appreciate the convenience of the storage for one of your most prized possessions. These options are inexpensive and will help you make the best use of your wall space that doesn’t go for added décor items. The best part is that even if you have no experience in arts and crafts, you can still try out some of these DIY hat rack ideas and make an amazing one for yourself!
Mismatched Hooks
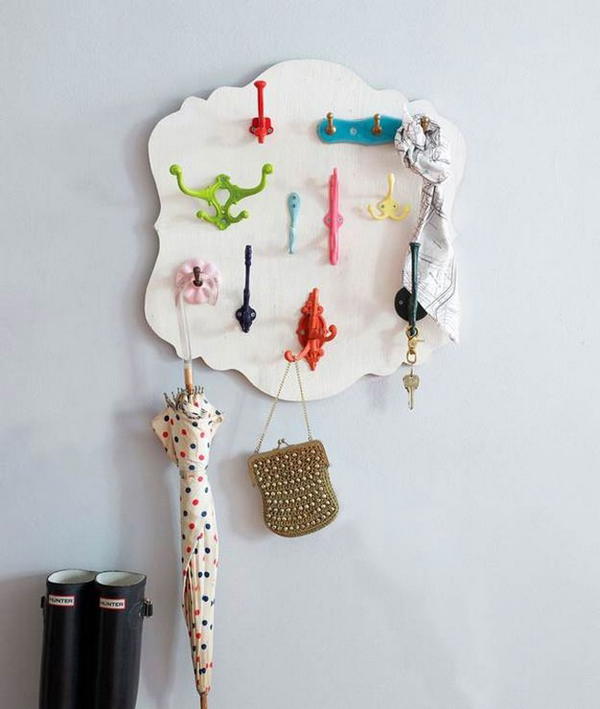
Then Mismatched Hooks is a project made for you! With this project, you can use your creativity and DIY skills to create stylish and functional wall art. It is a handy and straightforward way to hang your hats! All you need are different kinds of hooks and your old hat. This is a great hat rack if you don't want to spend much money and are into repurposing items! You can use it for hats, scarves, belts or sunglasses. This DIY project is fun to make, and the final product can be placed in the living room, bedroom, or office! Try it out now.
DIY Hat Rack With Antlers
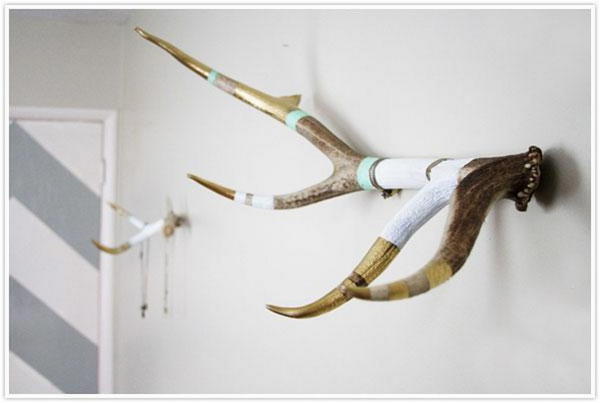
Here is an easy DIY tutorial on making your antler hat rack! This one looks great in a rustic cabin or lodge bedroom. It’s a great way of displaying your hat collection or other items, especially if you have a lot of them! However, you will be crafting a very artistic deer head hat rack using some antlers in this project. Making a DIY hat rack with antlers is very easy, and anyone could do it within a few minutes. This will give your room a classy touch and a creative one.
DIY Pegboard Wall Organizer
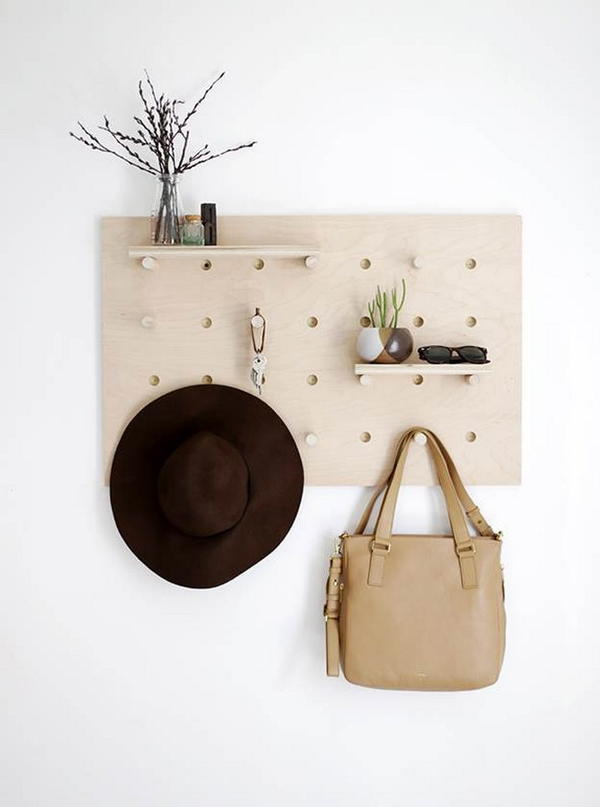
Here is the complete set of steps to make your DIY pegboard wall organizer at home. Start by laying the board and preparing screws by screwing in the pre-drilled holes. Then continue by attaching boards in the same manner. After this, you need to measure out the pre-cut dimensions using a measuring tape and a ruler to be prepared for mounting them on your wall. Apply primer on all sides of your DIY pegboard wall organizer to add in the finish. You can also paint it or seal it for extra durability. Having easily accessible pegs makes it easier for one to hang up his hats, bags, etc., that he wishes to access soon from now.
Scrap Wood Pallet Baseball Hat Rack DIY
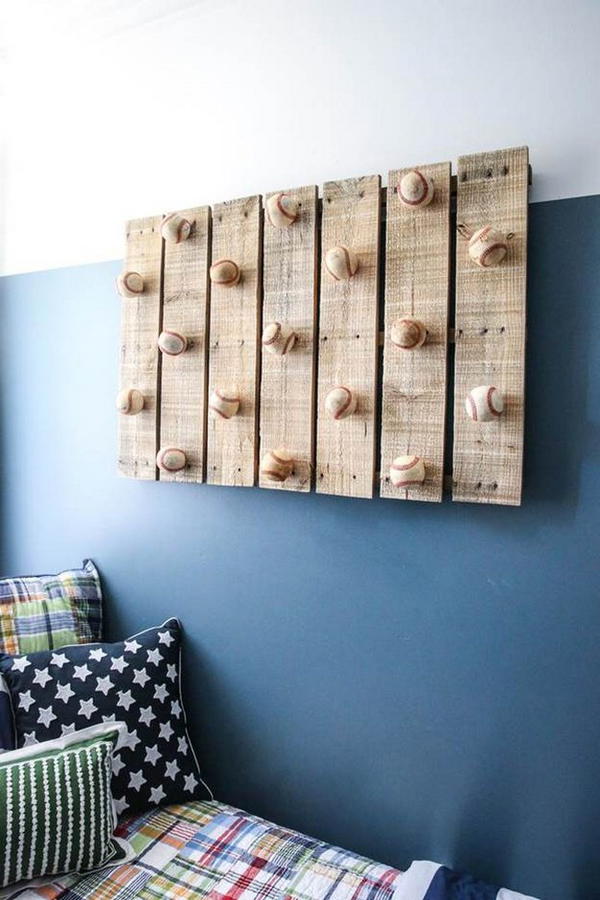
The scrap wood pallet base some baseballs and hold the hats. You can position your baseball hats on this wooden stand at any distance from each other. The first step is to cut a piece of wood plank and attach it to the metal plate. If you make this pallet project for your house, then paint it with any shade that matches your home décor. If you make this hat rack as a present, you can paint it with bright colors to look attractive. “This hat rack is super simple and easy to make and costs very little money. It’s perfect for the person who wants to display their awesome cap collection.”
Industrial Hat Rack DIY
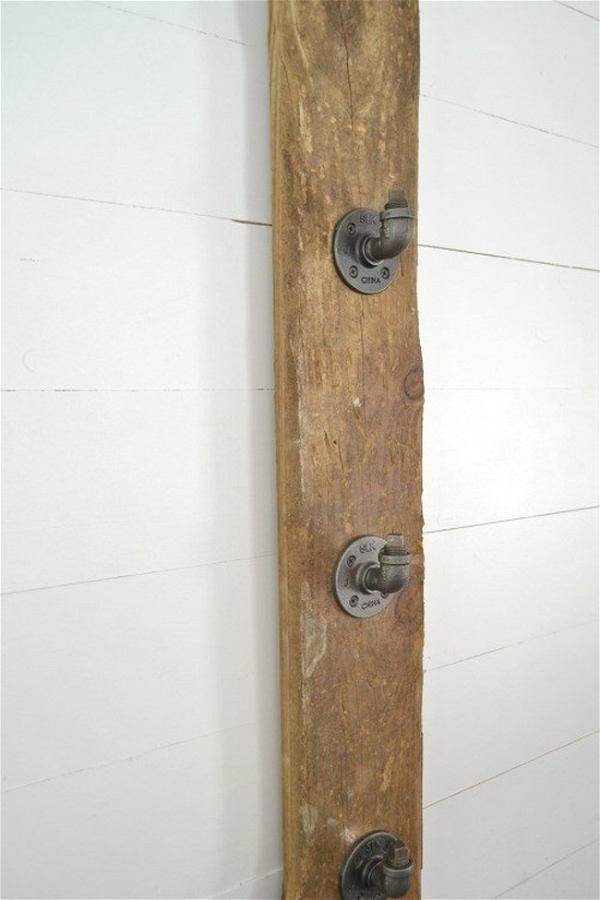
This industrial-inspired hat rack is easy to build and makes a great addition to any bedroom or entryway. The best part is that it only costs around $25, and you probably have most of the necessary materials on hand. There are no woodworking skills required for this project; the supplies are all easy to find at your local hardware store, and it only takes an afternoon to complete. Making your industrial hat rack design means you can personalize it with whatever accessories or decorations you choose according to your specific needs.
Crowded Hat Wall DIY
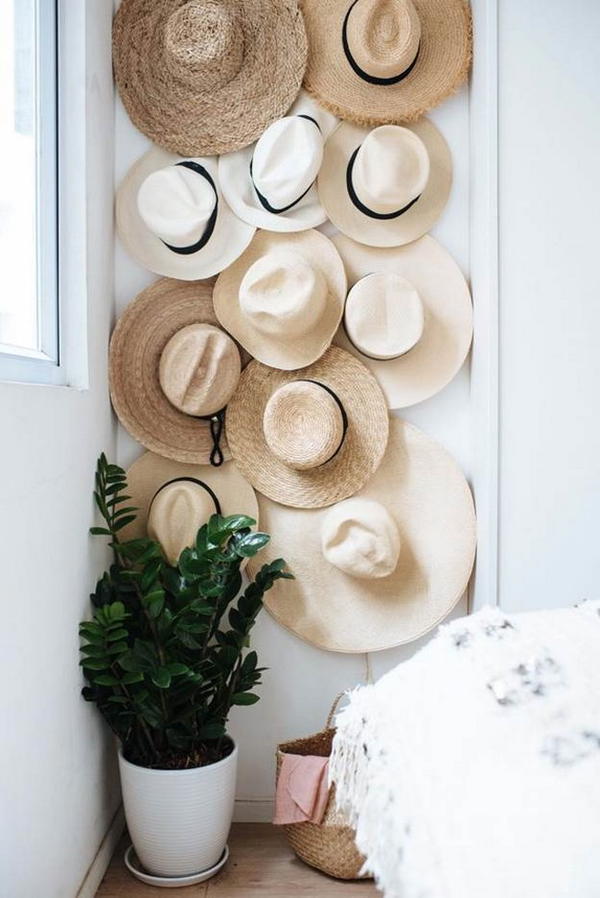
There are many different hats from many different eras, and you can add your own. If you don't have a lot of room in your home but want to make a statement, then maybe this project is for you. It adds color and interest to any wall, plus old hats may just be found as a treasure that has been stored away in a closet. This is a unique way to display anything from collections to family pictures or show off your creative talents. Making your own Crowded Hat Wall is easy to do and gives you a chance to decorate your wall to your taste.
Fancy Family Hat Rack DIY
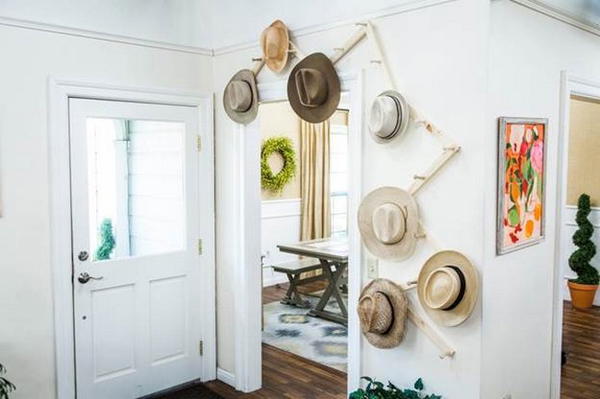
It’s a family hat rack with a twist! Get ready to turn your old farmhouse into the fancy place everyone envies. This original hat rack design was created from an old railing, inexpensive wooden muntins, and dusty tools. The railing was too small for its intended purpose of dividing an ample open space, so it went looking for a new purpose in life. It realized that all those hats hanging on hooks or piled on top of each other looked disorderly. So, it reached out to the old tools it found nearby and taught itself how to hold on to the hats without sagging.
DIY Muskie Hat Rack
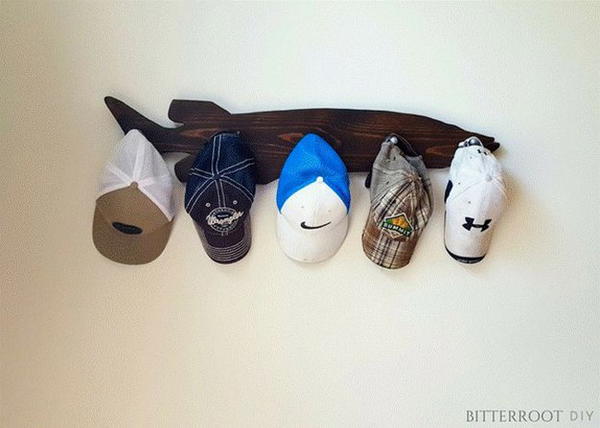
This DIY Muskie Hat Rack project is excellent. If you have a lot of hats, you should make yourself one of these hat racks. The homemade hat rack can be made with very little time and materials. It is the perfect example of two simple materials working together to create an impressive and functional piece of art. If you enjoy fishing and keep your prized popsicle-top Muskie hats in your closet, this project is for you! Traditional to modern muskie hats will fit nicely on this hat rack. Do it yourself and go beyond."
Old Shutter Hat Rack DIY
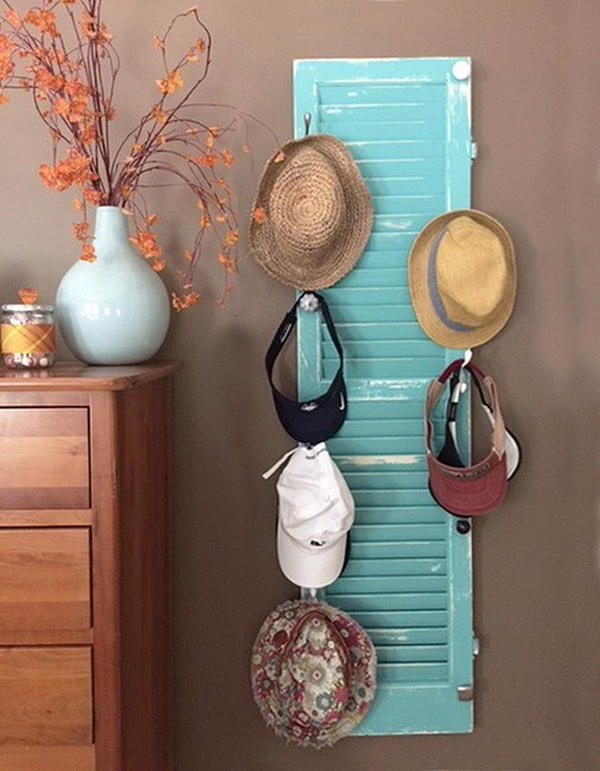
Create this rustic wall rack for your entryway, living room, or bedroom. If you have an old shutter lying around, you can create a perfect hat rack for displaying your hats and other accessories. A great addition to a country kitchen, garage wall, or back porch, it’s an easy DIY project. It’s the perfect spot to store your favorite items close at hand. This fun and creative project is an old shutter made into a rack that you can hang your hats on. This is an excellent way to repurpose something old and make it look brand new. This looks like a tremendous DIY self-imposed challenge that you can do with the help of your kids or friends.
DIY Peg Coat And Hat Rack
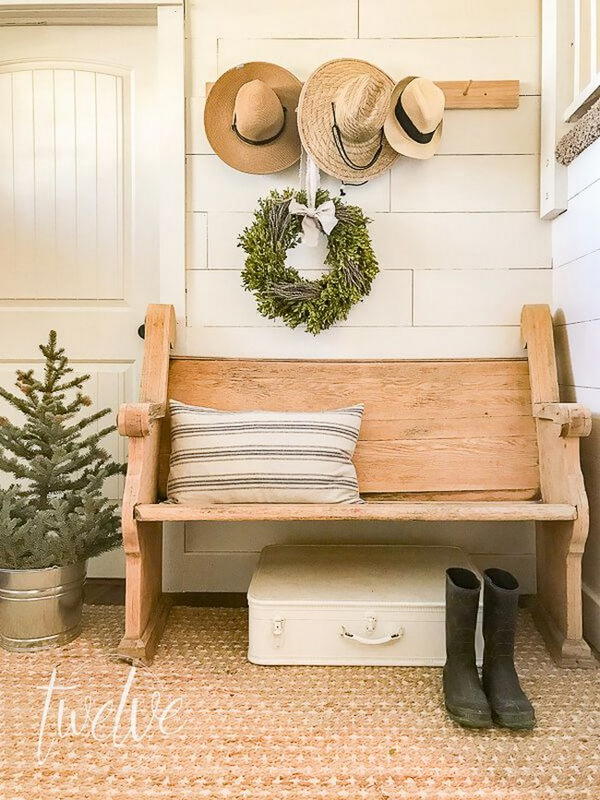
This Vertical hat rack is precisely what you need for your brother if he has a bunch of caps and coats. Made out of wood, it has a rustic feel to it. The wooden planks functioning as hangers are classy enough; anyone looks good sporting them. It is also not much of a hassle to build this one. You need only the basics in carpentry, like a miter saw, a drill machine, and some screws. Once built, the entire family can enjoy this one for years. This DIY peg coat and hat rack is the perfect addition to your outdoor space. You’ll love the simple, rustic look and the unique design. After a quick run-through with a paintbrush, its beautiful cedar planks will be a thing of wonder.
Colorful Hand Stand DIY

Do you have a large area of your home that needs a hat rack? Why not make one yourself? This one is relatively easy to put together and will look good in any room. You don't need a lot of materials to get started, either. The Hand Stand DIY is effortless to make. This hat rack can be used to hang your hats, caps, scarves, and even neckties. It's especially great for camping or a dorm room. All you need are just some wood planks, screws, a drill, an adhesive, and that's it. The process of making this hat stand is also easy to follow.
Tree Branch Hat Rack DIY
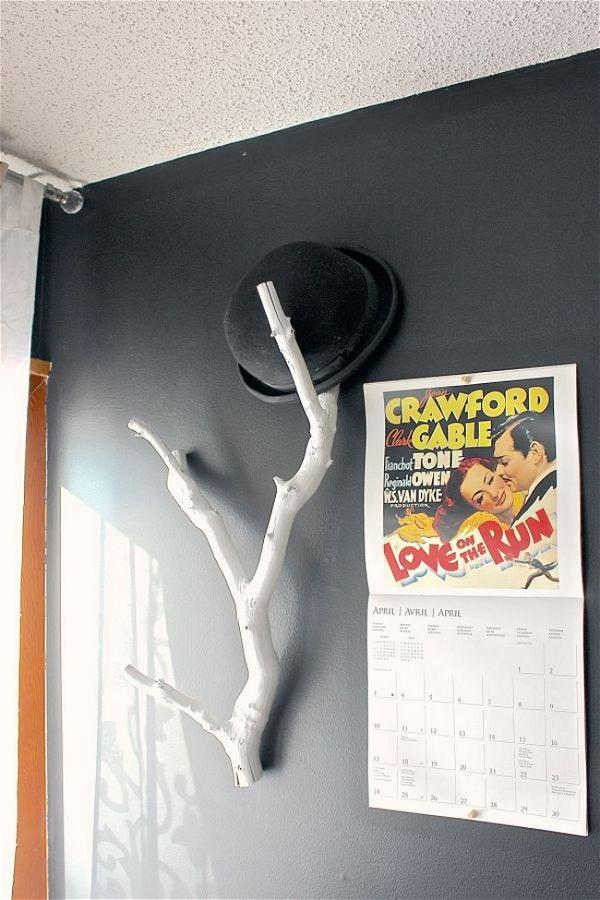
Tree Branch Hat Rack Project is an easy weekend project to spruce up any room in the house and makes it look more put together and stylish. The best part, in our opinion? You can upcycle a tree branch from your backyard, using it as an excellent accessory for any room and a spot for your hats. Your hat collection deserves more than a hook on the back of your door. This branch from a tree cradles your hats with care, keeping them safe from dust, grime and damage. With simple tools and hardware, you can make your hat rack quickly.
How To Make A Simple Hat Rack
How To Organize Hats Using Clip Hanger
See Other Projects
