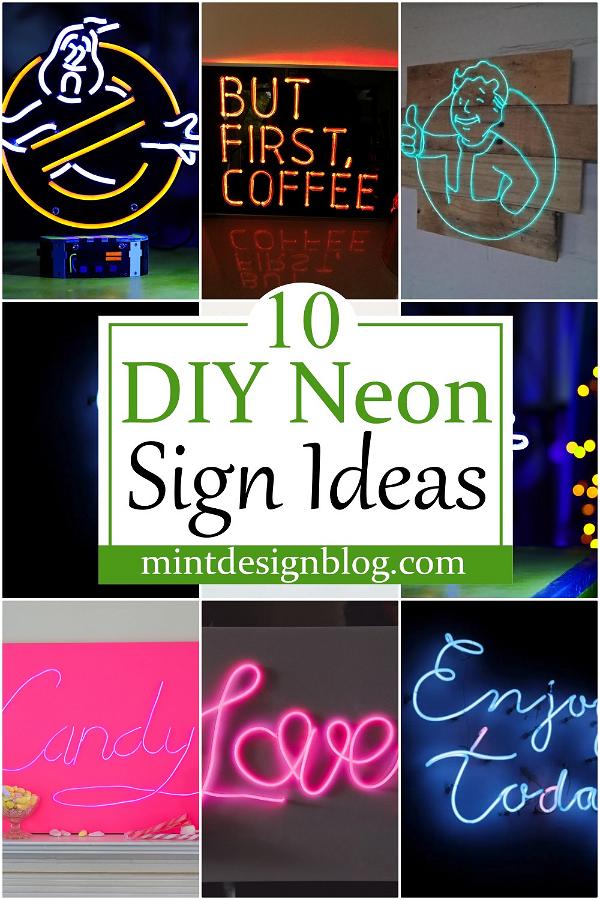
Neon signs are a fantastic way to brighten your home and add decor. These lights are especially suited for parties and weddings, as they create a vibrant atmosphere and give guests something to marvel at. It's fun, simple, and takes very little time to design. Looking for an inexpensive way to create a unique, colorful, and nostalgic piece of art? Try making your own neon signs. DIY Neon Sign plans are an excellent guide to creating beautiful, colorful lighting installations. This book explains how neon signs are designed and gives step-by-step instructions for creating your own lightbox. It can be done with very little or no artistic experience. Advertise your business with these DIY Neon Sign ideas or brighten your home or business. You will be pleased that you stopped by these ideas.
You Can See: 28 DIY Welcome Sign Ideas For Home Entrance
DIY Neon Signs
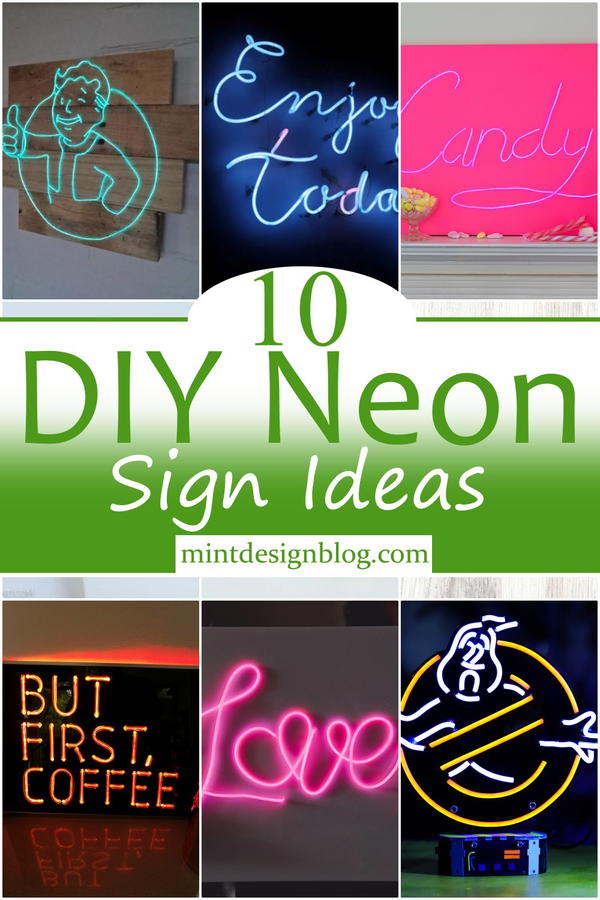
Beginner Friendly Projects:
With these simple DIY Neon Sign projects, you can transform your home into a vibrant neon glow. These projects are suitable for beginners and advanced alike and require only a few supplies. They are a versatile addition to any room in the house, including kitchens, living rooms, and bedrooms. After you choose a design, grab your glue gun and start gluing away! All these DIY projects are both easy and fun and will set a warm glow over any room in your home!
Advantages:
Neon lights are colorful and visually pleasant so that everyone will be attracted. Neon signs are everywhere, for example, in advertising, clubs, and even homes. They have many advantages over light boxes or conventional lighting outlets: they have no heating element; hence their light is excellent and safe for children; their color quality is distinguishing; their energy efficiency; longer service life; lack other details such as plastic housing, etc. You do not need to break the bank when buying one: we offer you an easily assembled DIY Neon Sign that looks absolutely chic!
With 10 different DIY Neon Sign ideas, this DIY project won't be challenging anymore and can also be made by a beginner; perfect for any home or office space, especially if you want to lighten the mood in your room with fun glowing signs!
DIY Realistic Faux Neon Sign

This is a super bright and realistic faux neon sign. We recommend this for any room in the house, as it is more durable than real neon and more accessible to mount than a traditional neon sign. This neon sign is made from a rigid board like 5mm MDF or plywood as your base. You print out your desired letters and shapes on white paper or cardstock using an inkjet printer and glue them to your board using a low-tack adhesive spray. Drill holes for each letter or shape, then string together a simple circuit to create an LED display - the same way we built our EL Wire Lights!
LED Neon Sign With Acrylic Backer
Creating a neon sign with an acrylic backer is another option for you. However, following this process will get you all set up to start making a beautiful piece of art that can be very useful in your home or office. The first step involves tracing your desired letters on the acrylic board using your tool and cutting out where needed. Afterward, you install your wires and create a beautiful neon light display as you tie the back ends together with glue. This neon sign comes in different designs and patterns, which you can get according to your tastes and preferences. It's a classy piece of art for your home.
DIY Neon Sign With LED

The Ghostbusters neon sign is the perfect diy project for those who like to build personal DIYs themselves. This is a reasonably complex sign made with laser-cut neon, a black acrylic base, and a lot of soldering iron. This project requires some level of skills, including knowledge about CorelDRAW and soldering. You will need a K40 Laser cutter, an acrylic sheet, and CorelDraw software. This is not a beginner's project, so taking the time to learn all the tools and processes before beginning this project is crucial.
Custom Neon Sign Idea

This neon sign is easy to make, even for beginners. You can fashion your own neon sign with a standard glass tube. First, you should draw your design on paper; the idea is to draw your design as accurately as possible and the exact size or fonts. You will also need 16 gauge metal wire, 5mm EL wire of your chosen color, a glue gun, etc. Once you've drawn your design, cut out all the pieces using scissors. Once you have them cut out, attach one end of each line to a ring terminal, at one end having a wire nut at the other end.
DIY Neon Sign El Wire

How to make a simple DIY neon sign with EL wire. It’s the perfect gift for a friend or loved one and makes an excellent wedding decoration too. This tutorial demonstrates making a wooden-backed neon sign using EL wire and white acrylic. You’ll need rotary tools, glue, spray paint, a power drill, and a box cutter. It can also be used in entryways, bedrooms, or any room where you want to feel a little more fun; this project can be customized however you like with the words that speak to you.
DIY Neon Sign Under $60
Create your own neon sign and give a vintage look to your home or business space with this self-made, super cheap DIY neon sign that is made using all the colors you will need. The creator of this project explains the options of how to make this neon sign; for instance, if you want it hands-on, why not map it out from your computer and then print in high quality or paint by hand? You can also print it professionally and cut out an arrow with a stencil machine. You will have a beautiful, all-color sign in no time!
DIY Neon Sign
This winky lux neon sign is perfect for a small DIY project in neon that happens to double as decoration and communication. You’ll need wire, zip ties, white acrylic paint, a hot glue gun, and measuring tape for the task. Partly peel off the paper backing from your tiles. Place wire hooks in each hole. Cut the zip ties at even lengths. Attach them to the wire by wrapping around both ends grommet side up, then place shrink wrap over them. Then paint one side of each tile before placing it on the board or table you used as a base for the sign. After painting all sides of the remaining tiles, warm another layer of paint of at least one inch thick now arrange each tile so that it fits well in its respective space.
Neon Fallout Sign to DIY
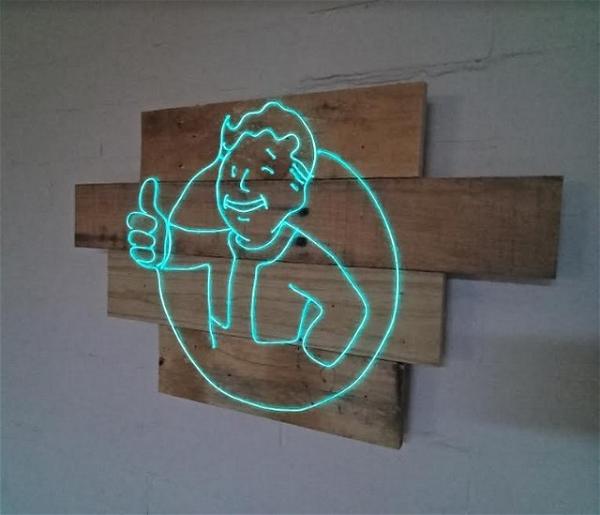
Are you looking for an inexpensive way to make your room or office a little more interesting? Then, this is the project for you. Not only will it add a pop of color, but this Neon Fallout Sign will give your walls some personality they’ve never had before! It takes very little time and money. Additionally, this is a great way to set the mood in your game room with a custom-made sign. Who needs expensive decor when you can create something like this in your own home?
DIY Neon Sign For Decor
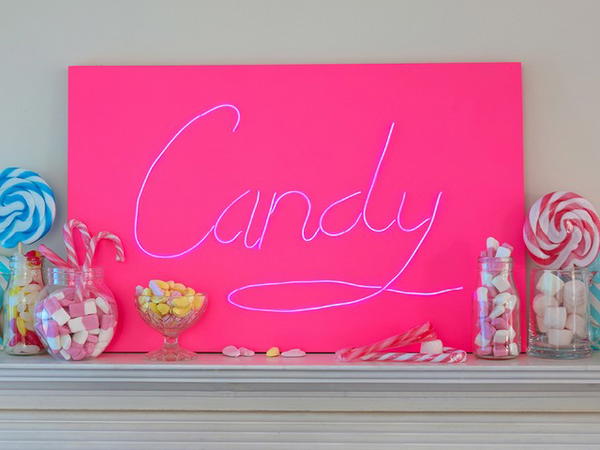
A neon sign is a simple way to create a DIY project to enhance your home decor. Neon signs can be made from many different materials, such as wood and metal, but in this case, we will be using EL wire to complete our DIY project. The following instructions are for making a custom-sized neon sign; however, any size can be used. It requires a few materials like an MDF board, EL wire, and a hot glue gun. The written instructions can be found in the link below.
DIY Neon Sign Decor
This is the perfect project if you love neon signs and want to create your own DIY Neon Sign! All you need are a few materials and some minimal tools. This easy project can be completed in one afternoon and requires only the basics of art skills. You won't need expensive tools or equipment because all the materials are available at most local craft shops or stores! So if you want to create simple but stylish neon sign decor, this is the perfect tutorial for you. It's so easy that we promise you'll want to make more than one!
