One of the most common ways to scare away birds from crops nowadays is to build a scarecrow. As you may have figured out, this is not something you can buy from Amazon; however, it's a fun DIY project, and I bet you will have a lot of fun making one. You can make these DIY scarecrow ideas with any material; although they are traditionally made of straw, today's scarecrow can be made with any materials you have lying around the house. Here is a list of 18 DIY scarecrow ideas that will help protect your garden and are fun to make.
DIY Scarecrow Ideas
DIY scarecrows are a great way to add character and charm to your outdoor spaces. These projects are great for all ages and can be used in gardens, farms, orchards, and even large-scale fields. The presence of scarecrows has been documented dating back to the 1400s to scare away birds from crops. Scarecrow designs have come a long way since then but are still used today. Making a scarecrow is a classic fall pastime that can be as simple or as elaborate as you want it to be. Here are some of our favorite DIY scarecrow ideas for inspiration.
How To Make A Small Scarecrow
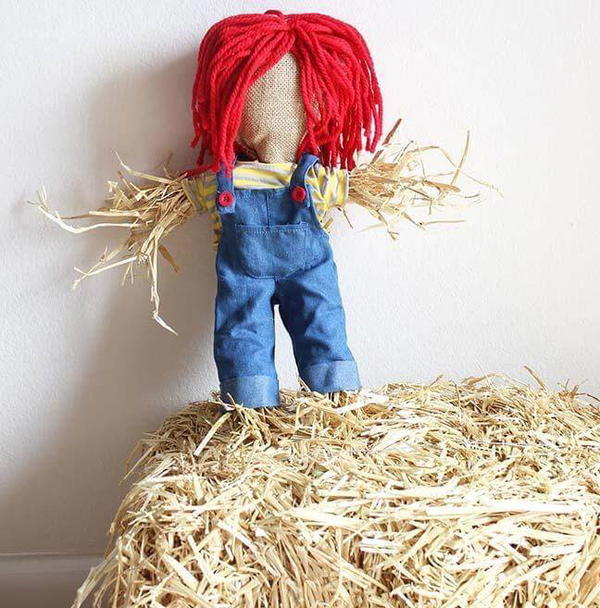
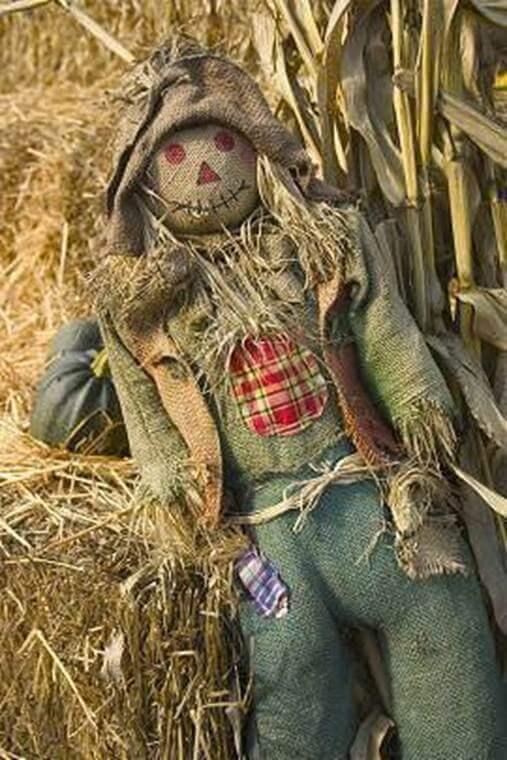
I will be making a mini scarecrow. It's fun, easy, and perfect for your fall décor. This is what you will need. Some hay, a shirt, overalls, and burlap. Now tie some hay together for the legs and hands. Then tie another piece of hay that is lengthier than the legs for the body. Lay down the legs, hands, and body, then put them in the shirt and overall appropriately. Make the head by overlapping two strips of burlap. We'll be tacking the edges and then tying it with a rubber band to the body of our scarecrow.
3 Ways To Make A Scarecrow
Create your scarecrow with a frame, clothes, straw, hay, straw-stuffed feet, or other parts of your choice. The frame can be wood, PVC pipe, or any other sturdy material that you want to use. Next, put your clothes on the frame and stuff them with hay and straw. Use artificial hands and feet if desired, then attach ahead to the neck of your scarecrow. It is not difficult to make and is a fun activity for the whole family. The material to make the scarecrow is simple, and if you have a wooden frame and old clothes, you are almost done!
How To Make A Scarecrow
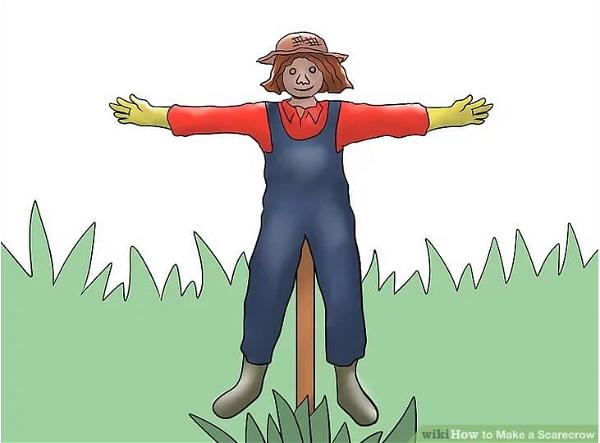
Make a frame using two wooden poles driven into the ground. Use the third pole across the top to form a cross. When dressing the figure, keep this in mind so that wire hangers or other supports do not show. Do not stuff too full as this will make the scarecrow unstable and likely to fall over. Straw is often used for stuffing, but plastic bags and other materials are sometimes employed. You'll need a mixture of old clothes, twine, and netting to make the scarecrow's head. We recommend bamboo for the arms (7 & 5-foot poles), fill two nettings with straw for each arm, and fasten it horizontally to the 5-foot pole and perpendicularly to the 7-foot pole leaving like 6 inches above the arm.
DIY Scarecrow
This Halloween, turn a scarecrow into your outdoor decor by using Craft Daily’s project. The materials needed are clothes, gloves, boots, rafia, and towels. Because scarecrows are put out in the fall, the shirt and overalls should be made of lighter fabrics that allow some airflow so the scarecrow can dry off quickly after rain or dew. Use a button-up shirt turned inside out then stitched at the bottom with clips to attach to the jeans. Stuff with towels until it reaches the neckline, and then button it up!
Scarecrow DIY
Basic scarecrow tools and materials include a shirt, pants, gloves, and a hat. To build one, start by picking out your materials and cutting the neck of a plastic barrel or other containers. Cut holes in the bottom and lid big enough to stuff arms through. Then, tie the lower parts together before stuffing them with leaves and hay. Next, put on some clothes for your scarecrow and cut a large square of cloth to serve as his face. Stuff the top with leaves, turn it inside out, draw on a face, and rubber band it around your scarecrow's head. Finally, attach the hands, shoes, and hat to complete your decoration.')
DIY Scarecrow For Birds
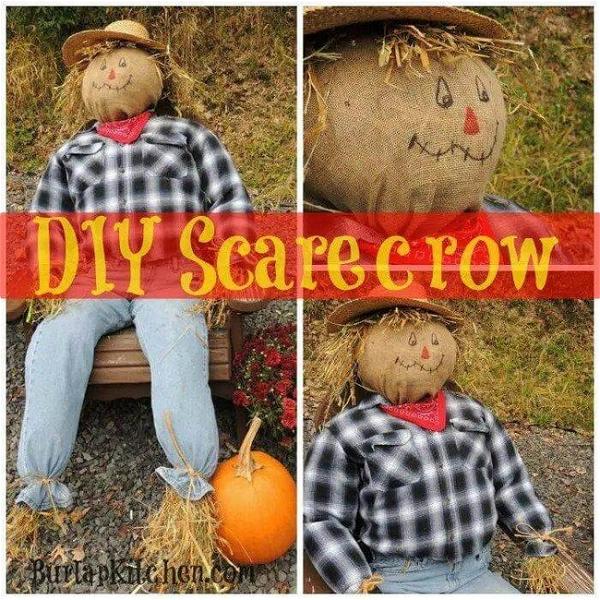
You can make a scarecrow from an old shirt and pants filled with hay, twine, burlap, and tools that you probably have around the house. If you want to keep birds away from your garden, scare them with a scarecrow bird deterrent. This DIY scarecrow is made with burlap and hay, an old flannel shirt, jeans, twine, and an old ball. Fill the shirt and pants with hay and tie off the wrists and lower legs to let some of the hay spills out. Use twine to wrap an old ball with hay and cover it with burlap. Draw the features onto the face with a marker, assemble all of your scarecrow components!
DIY Scarecrow
Create a homemade scarecrow with this easy DIY. Fill old clothes with hay and attach them to another old shirt. Top with a hat, draw a face on a pillowcase, and stuff it into the shirt. Your critters will love their new friend! This DIY scarecrow is a quick and affordable way to add a bit of “spooky” to your Halloween. You only need to sew or tie the clothing together and stuff it with hay; this scarecrow can be assembled in less than an hour. Scarecrows are easy to make and keep the birds away from your harvest. You can make one in less than an hour with supplies you already have in the house.
How To Make A Doctor Who Scarecrow
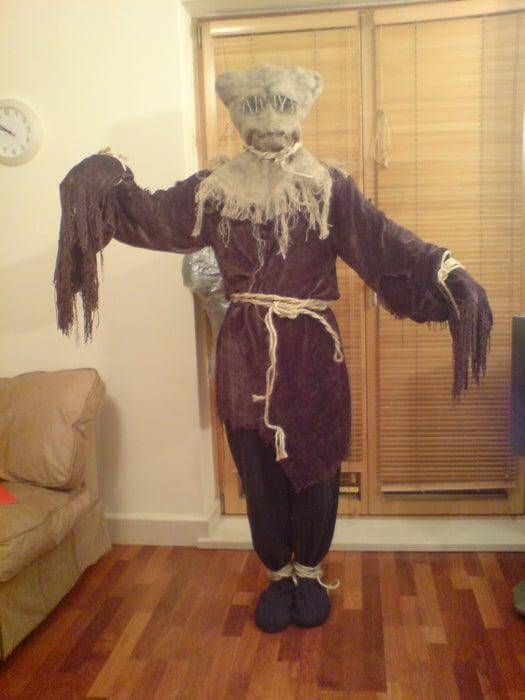
You will need a hessian sack and a fancy dress masquerade mask. First, cut the hessian sack to shape to make the head. Use a needle and thread to sew the seams of the hessian sack, and then use newspaper to shape the head. Next, place the plastic masquerade mask inside the hessian sack and carve out the eyes with a small pair of scissors. Finally, secure the head to a wooden broomstick with jute rope for hanging in your garden. Make a Doctor Who scarecrow from a throw blanket, hessian sack, a masquerade mask, and newspaper.
DIY Stuffed Scarecrow
This DIY stuffed scarecrow is very simple to make. It is made with a soft rafia that has been treated, so it can stay longer than a year without smelling or meddling. We used an old kid's shirt and overall pants, a pumping(for the head), and a stick for uprightness. Our DIY scarecrow is made with rafia and preserved to stay outside for more than a year without fear of disturbing smells. A simple, inexpensive, and fun way to add some character to your fall decorating.
How To Make A Scarecrow For Halloween Decoration
You can make a scarecrow for Halloween decoration, and here is how. Wrap the head in a burlap sack, tie it with twine, cover it with mod podge, and highlight the facial features with black paint. Rubb in black paint to the eyes, mouth, and randomly around the head. Attach the barbed wire to the mouth, eyes, and other places to make it look scarier. You need a head mask and a burlap sack to make this scarecrow. Wrap the head in the burlap sack and tie it with twine. Cover it with a mod podge and highlight the facial features with black paint. Then add black paint to the eyes, mouth, and randomly around the head. Attach pieces of barbed wire to the mouth, eyes, and some other places to make it look scarier.
DIY Scarecrow Puppet Craft For Kids
Hey, look at the scarecrow puppet I just made for the kids. You need a pack of oven-bake polymer clay, foil paper, needle and thread, some fabric, and a stick. Take a piece of foil paper and wrap it into a ball. Wrap the polymer clay over the ball. With your fingers, make two oval pieces for cheeks. Make round eyes, eyebrows, and even lips if you want to go overboard. Now, bake this in the oven as per the instructions given on your polymer clay pack. Once baked, thread hair on both sides of the head with raffia or any ribbon you like, then attach it to a long stick with needle and thread. Place some white fabric over it and cut out eye holes. Your puppet scarecrow is ready!
DIY Scary Scarecrow Makeup Tutorial
Start by creating the scarecrow look with a burlap, a ragged shirt, and a glove. Now take a lifecast and add some creepy detail with cotton wool, petroleum jelly, and liquid latex. Apply unique fx makeup to create dark circles under the eyes, using a toothbrush to add texture to your complexion. Add color, scars, and a petrifying expression to your face. Use dust and shimmer to accentuate the dirtiness of your costume. Add hair pieces and complete your scarecrow look by dressing up in old trousers, boots, and caps.
How To Make A Flower Pot Scarecrow
Let's make a scarecrow. The first thing we will do is put some Mod Podge on the top pot so that the other pots can stick to it. Next, we will wrap the flannel shirt around this main pot and secure it with Mod Podge. We need to let everything dry now. Once that is done, you can paint the face of the scarecrow and draw on any facial features. The last thing you need to do is add the pants and put everything all together.
How To Make A Scary Scarecrow Mask
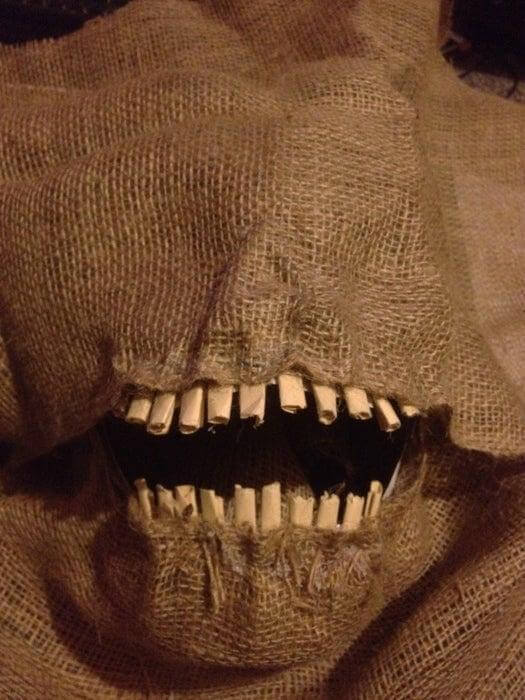
Measure the face of the person who'll be wearing your mask. Use a pencil to draw half-inch long lines representing your horror mask's eyes, nose, and mouth. Create the eyeholes using a craft knife. Cut out the eyes and mouth using scissors. Cut the burlap and glue it into place using a hot glue gun. Draw a set of teeth on yellow construction paper and then cut it out. Staple the teeth in the middle with duct tape to secure them. Attach the teeth and cut out eye, nose, and mouth holes.
DIY Giant Scarecrow
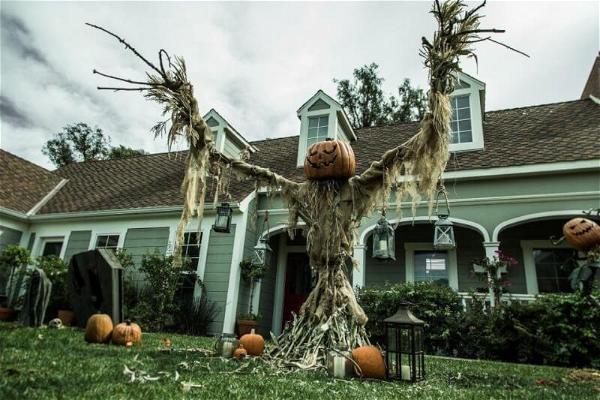
Bring an autumn atmosphere to your garden by building this giant scarecrow. This project is made from PVC pipe, PVC connectors, burlap, a straw hat, and a pumpkin for the head. This giant scarecrow is made from PVC pipe and burlap and is simple to build. This project takes a few hours over one or two days. Scarecrows are traditionally used to keep birds away from crops, but they are also a popular way to decorate a yard or garden for fall and Halloween.
How To Build A Scarecrow
You can make your scarecrow in just a few easy steps. The scarecrow's body is made of straw and an old flannel shirt. Fill the shirt with newspaper and attach it to an old pair of overalls. Make the head out of a burlap bag filled with newspaper and draw on a face using non-toxic paint. Stuff a pair of boots with straw and toss them on the scarecrow's feet. Assemble this old-fashioned decorative garden accent in just an hour or two. The most important step of this project is to stuff the clothes with newspapers. Once you have finished stuffing your clothes, assemble them on the apparatus by tying off the legs and arms. Dress up your scarecrow in any way you choose!
Lollipop Scarecrow Craft
This fun fall craft project is great for children ages 6-10. First, attach a popsicle stick to an orange lollipop with a craft wire. Next, wrap yellow tissue paper around the lollipop head to create a nose, and secure it by tying it with a craft wire. Draw eyes and a mouth on the yellow tissue paper, and then attach pre-made clothing sheets with double-stick tape. Use multicolored feathers for hair and googly eyes for the scarecrow face. Start by attaching a popsicle stick to a lollipop and covering the lollipops’ head with yellow tissue paper. Draw the face with markers and attach construction paper clothing! This craft is fast and easy for Halloween art with your children.
How To Make A Pallet Scarecrow
Pallets are great materials for making different items for your garden. Combine different pallets to make a DIY scarecrow for decorating your garden. You'll need a wooden board, black paint, and a sponge brush to spruce up the upper side of your pallet. Get your hands on a white paintbrush and some water to cover the lower part with the relevant color. Once done, allow it to dry properly. You can now draw facial features like eyes, nose, and mouth in an artistic manner.

